
Difficulty: Easy | Time: 15 minutes | Steps: 8 | Good for: All ages
Butterflies have beautiful wings, but drawing both sides evenly can feel a little tricky at first. I like to start with a small head and body, then build the wings around them.
In this tutorial, I’ll show you how to draw a cute butterfly in 8 easy steps. We’ll begin with basic shapes, add a sweet face and wing patterns, and finish with color. Grab your pencil and follow along with me!
What You’ll Need to Draw a Cute Butterfly
You don’t need any special art supplies for this cute butterfly drawing. Here’s what I’ll be using:
- Pencil: To sketch the butterfly’s shape before outlining.
- Eraser: To fix any lines that don’t look quite right.
- Drawing paper or sketchbook: A blank page with enough space for both wings.
- Black marker: To make the finished outline neat and clear.
- Colored pencils or crayons: To fill the wings with your favorite colors.
How to Draw a Cute Butterfly Step by Step
I’ll break this butterfly drawing into eight steps so you can work on one part at a time. Start with light pencil lines and follow each picture as you go.
Step 1: Draw the Butterfly’s Head
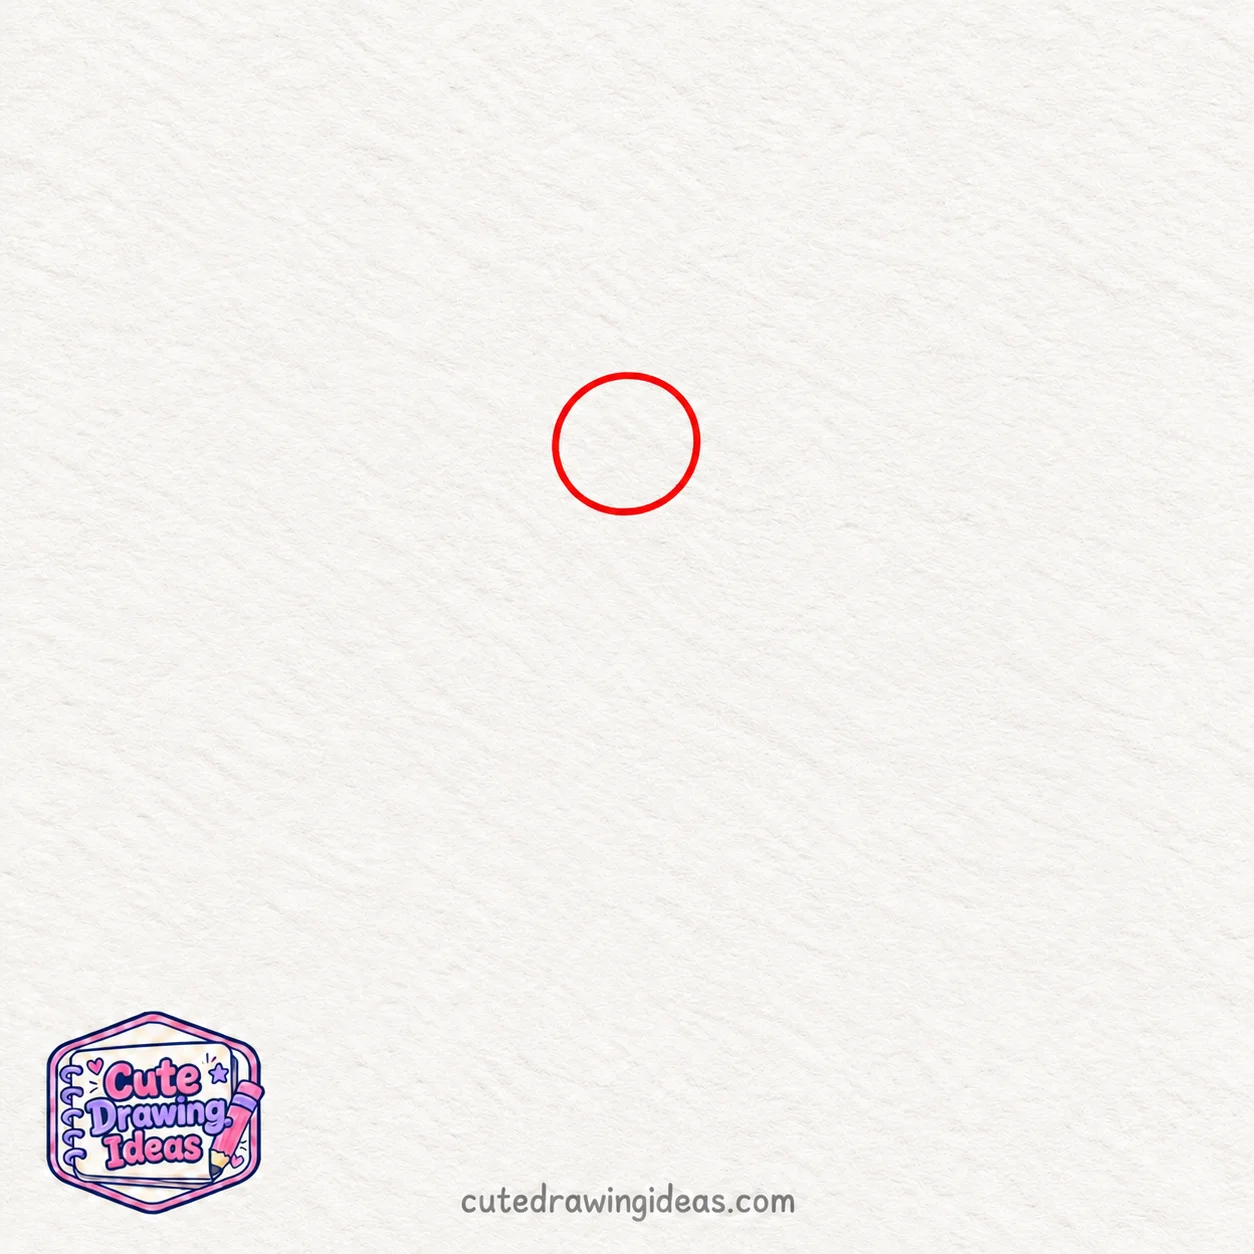
Start by drawing a small circle slightly above the center of your paper. Keep it nicely rounded, and leave plenty of room on both sides for the wings.
This circle will be the butterfly’s head. Leave the inside empty for now because we’ll add its cute little face in a later step.
Step 2: Add the Butterfly’s Body
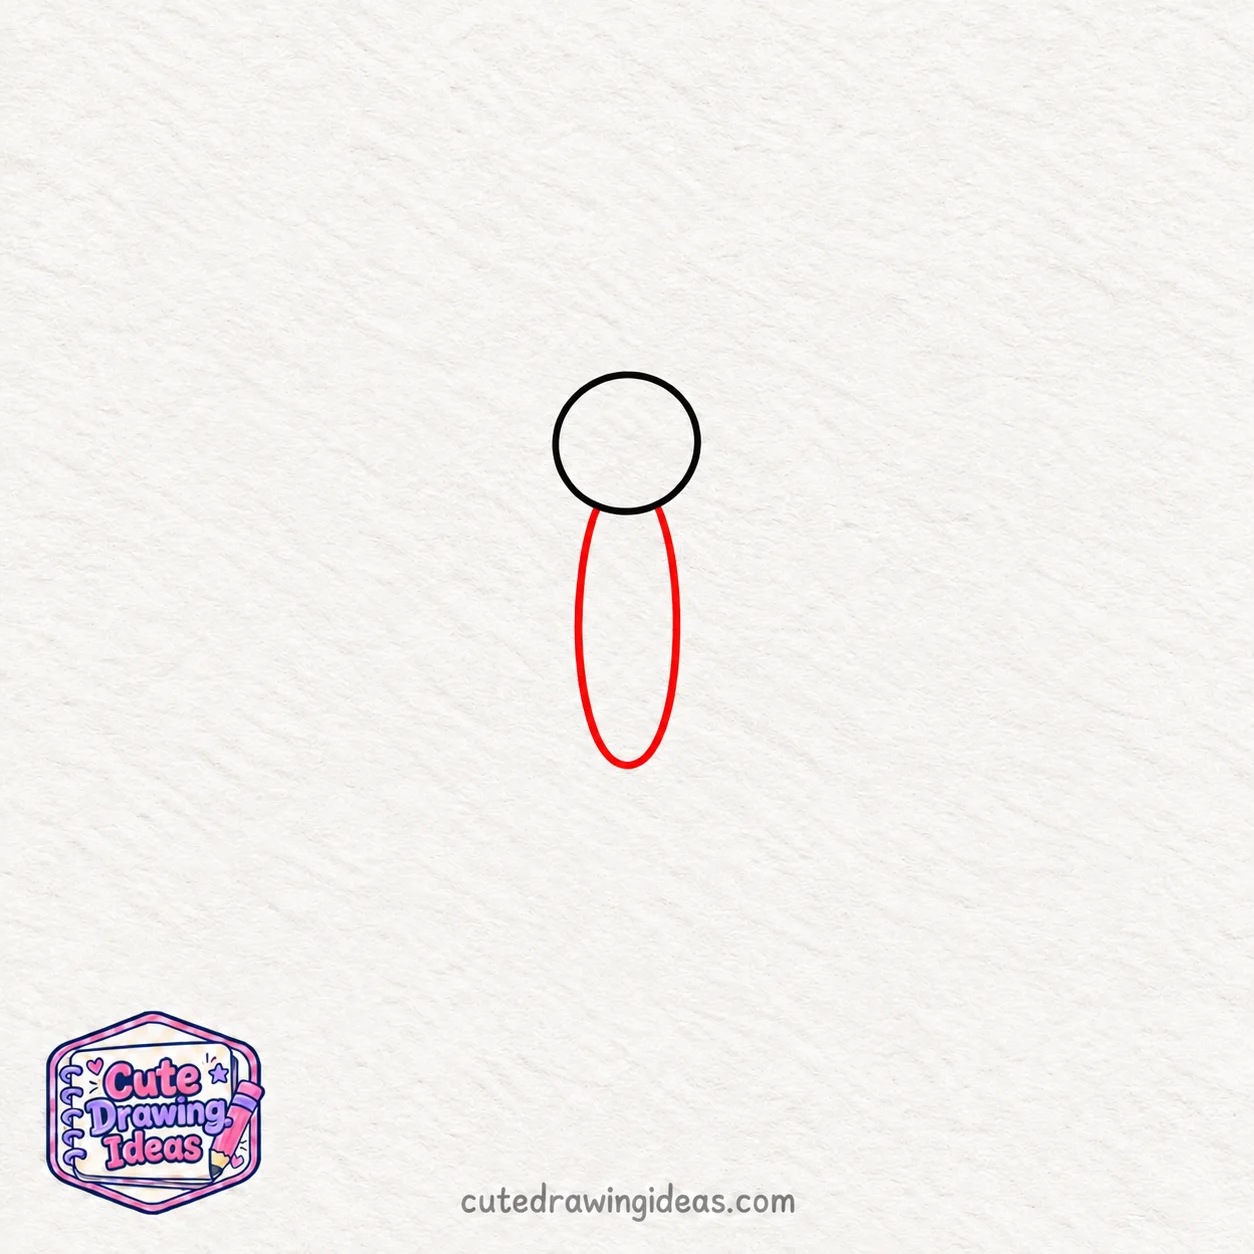
Just below the head, draw a long, narrow oval that extends straight down from the bottom of the circle. Keep the sides slightly curved and round off the lower end.
Make sure the body is slimmer than the head, leaving plenty of space on both sides for the wings we’ll draw next.
Step 3: Draw the Two Upper Wings
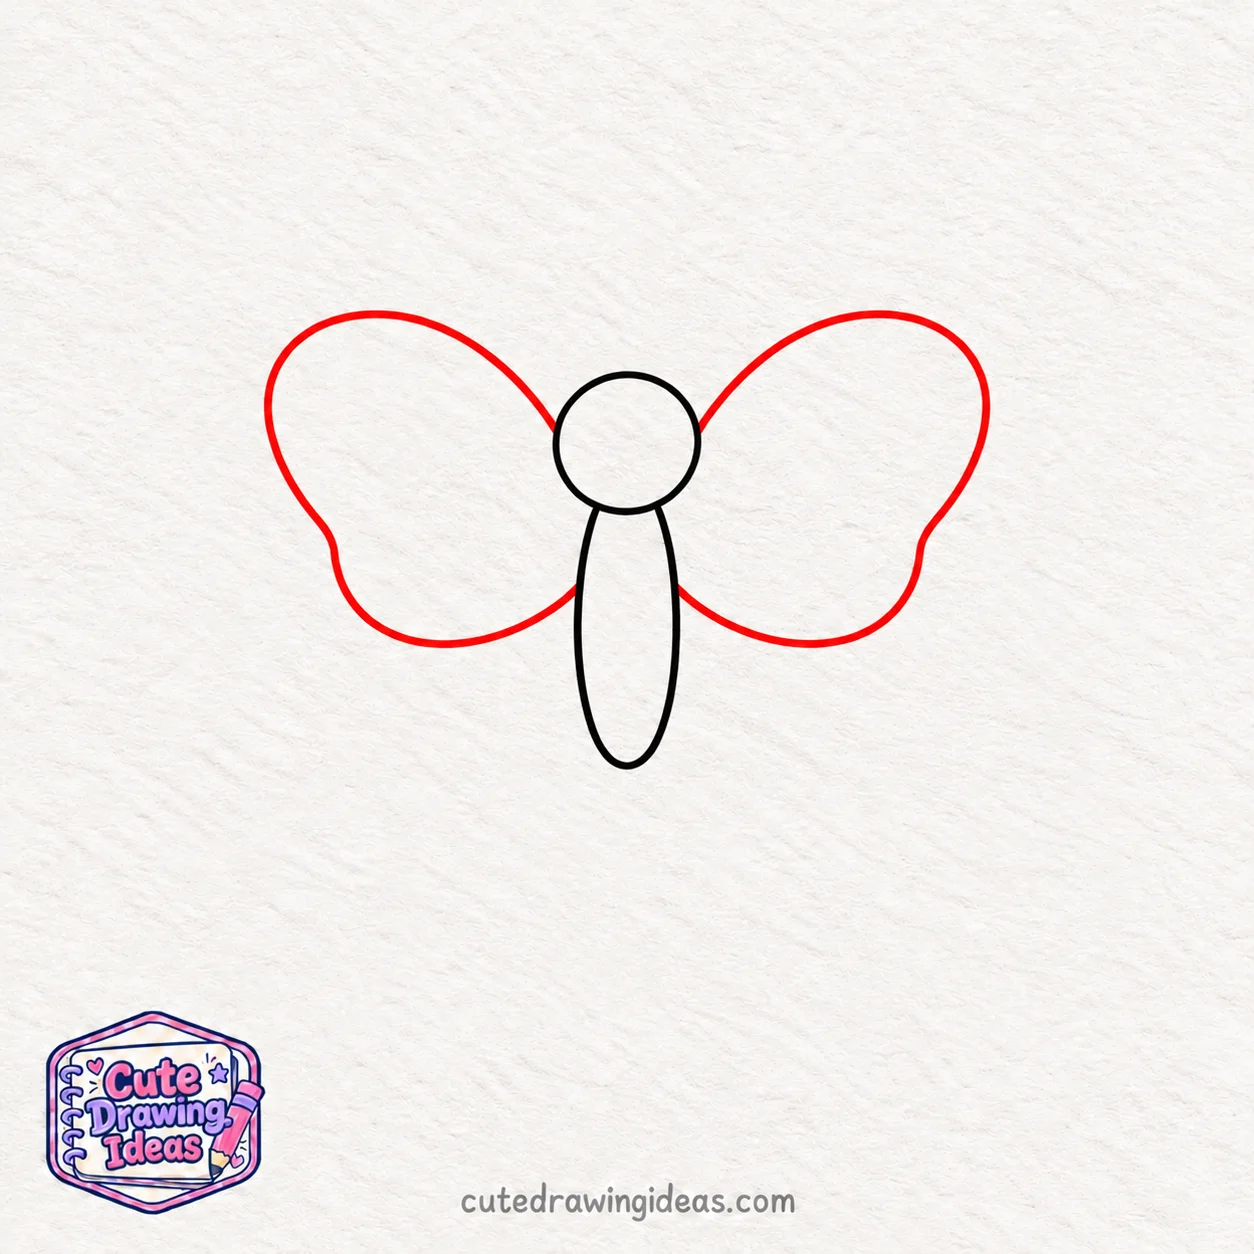
Starting from the left side of the butterfly’s body, just below the head, draw a large curved line that sweeps upward and outward. Round off the top, then curve the line back down to meet the body near its middle.
Repeat the same shape on the right side, keeping both upper wings about the same size. These two rounded wings will form the widest part of our butterfly drawing.
Step 4: Add the Lower Wings
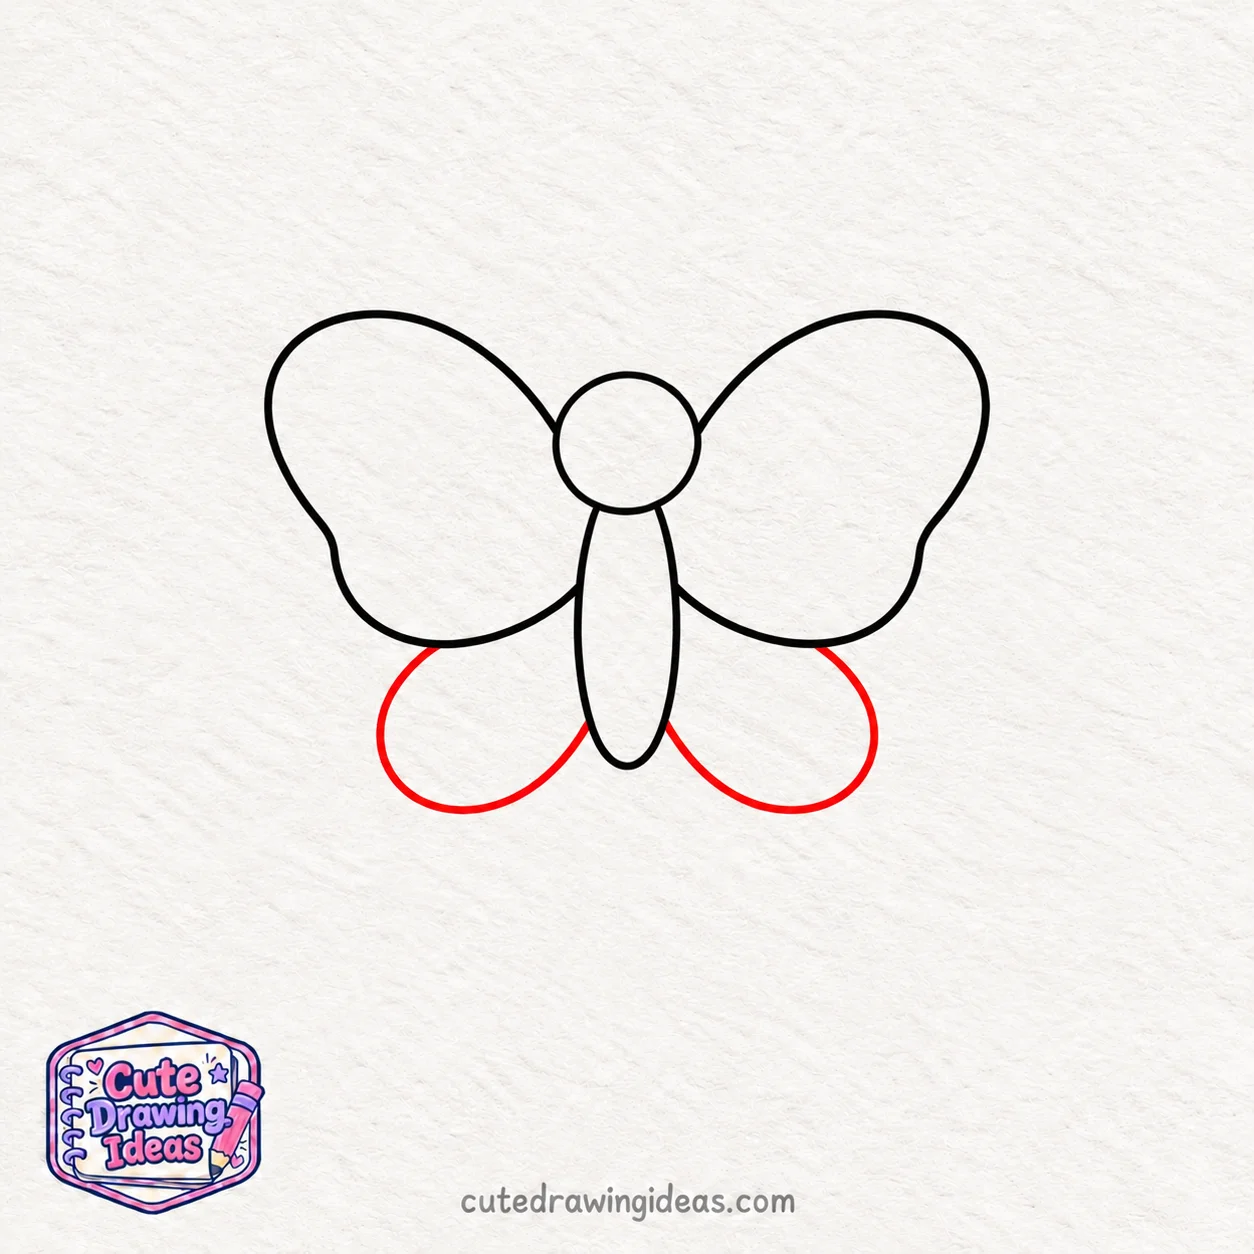
Just below the left upper wing, draw a smaller, rounded wing starting from the middle of the butterfly’s body. Curve the line outward and downward, then bring it back to meet the body near the bottom.
Repeat the same shape on the right side. Keep both lower wings smaller than the upper ones and roughly the same size.
Step 5: Draw the Antennae

At the top of the butterfly’s head, draw two short, curved lines. Let one bend gently to the left and the other to the right.
Add a tiny rounded tip to the end of each line. Keep both antennae about the same length so they look balanced.
Step 6: Add a Cute Butterfly Face
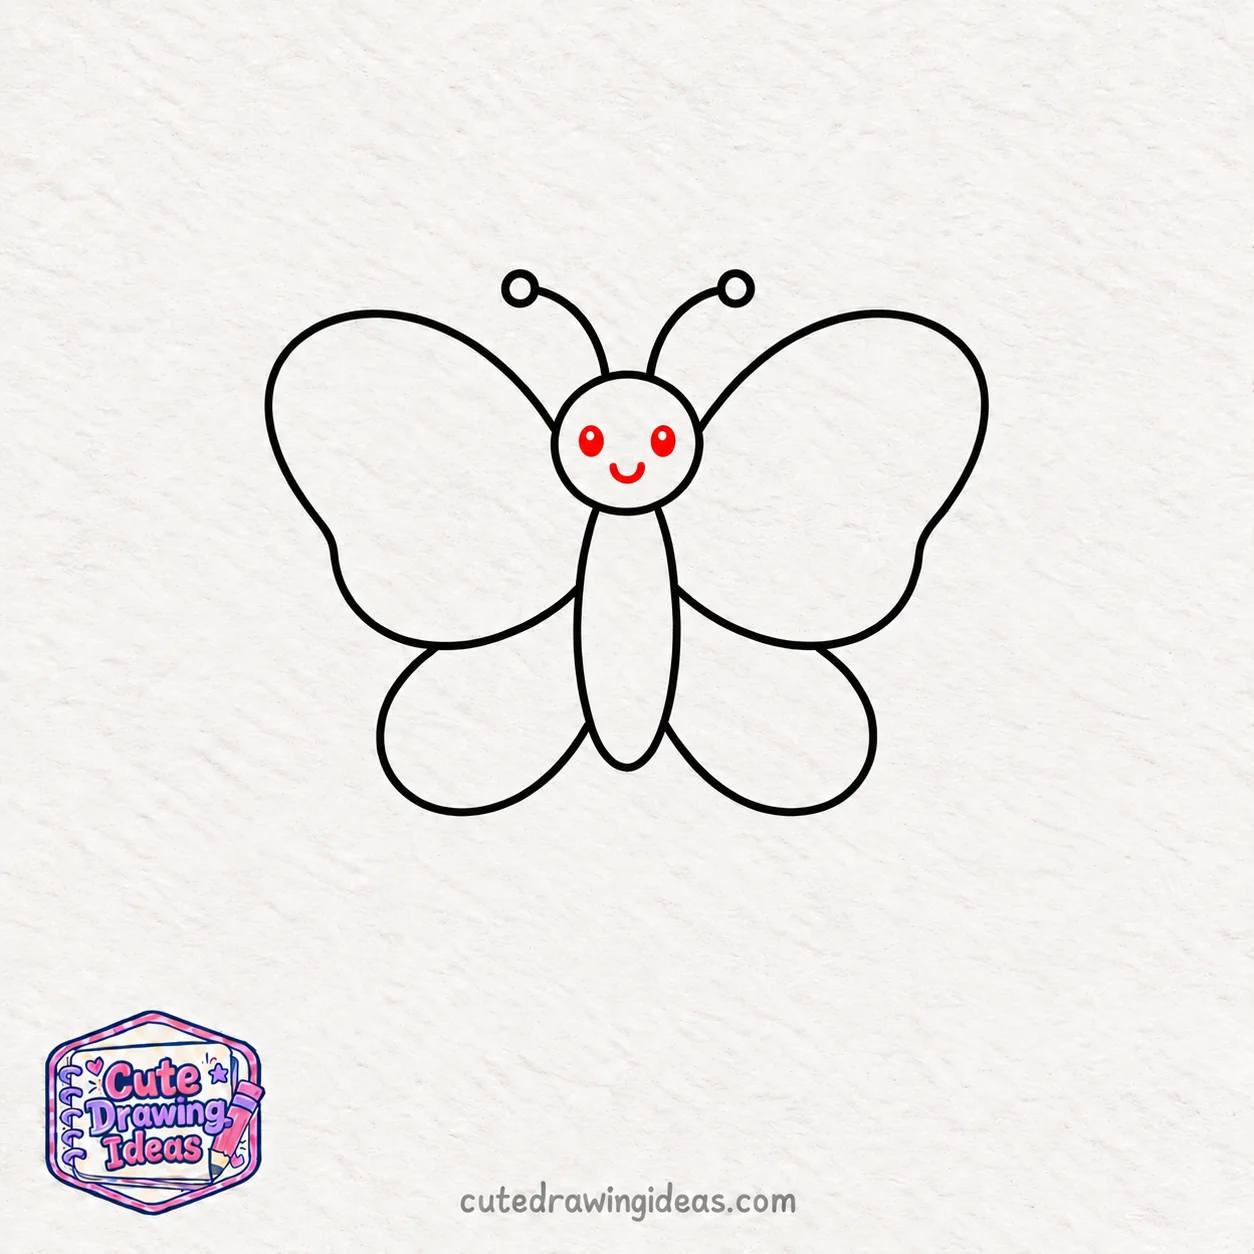
Inside the butterfly’s round head, draw two small oval eyes, one on each side, slightly above the center. Keep a little space between them.
Just below the eyes, add a small U-shaped curve for a cheerful smile. Make sure the eyes and mouth fit neatly inside the head without touching its outline.
Step 7: Decorate the Wings with Simple Patterns

Inside each upper wing, draw a large oval spot near the outer edge. Keep both spots about the same size.
Next, add two small circles inside each lower wing, placing them side by side. Repeat the pattern on the opposite wing to give our butterfly a balanced, matching design.
Step 8: Color Your Cute Butterfly Drawing
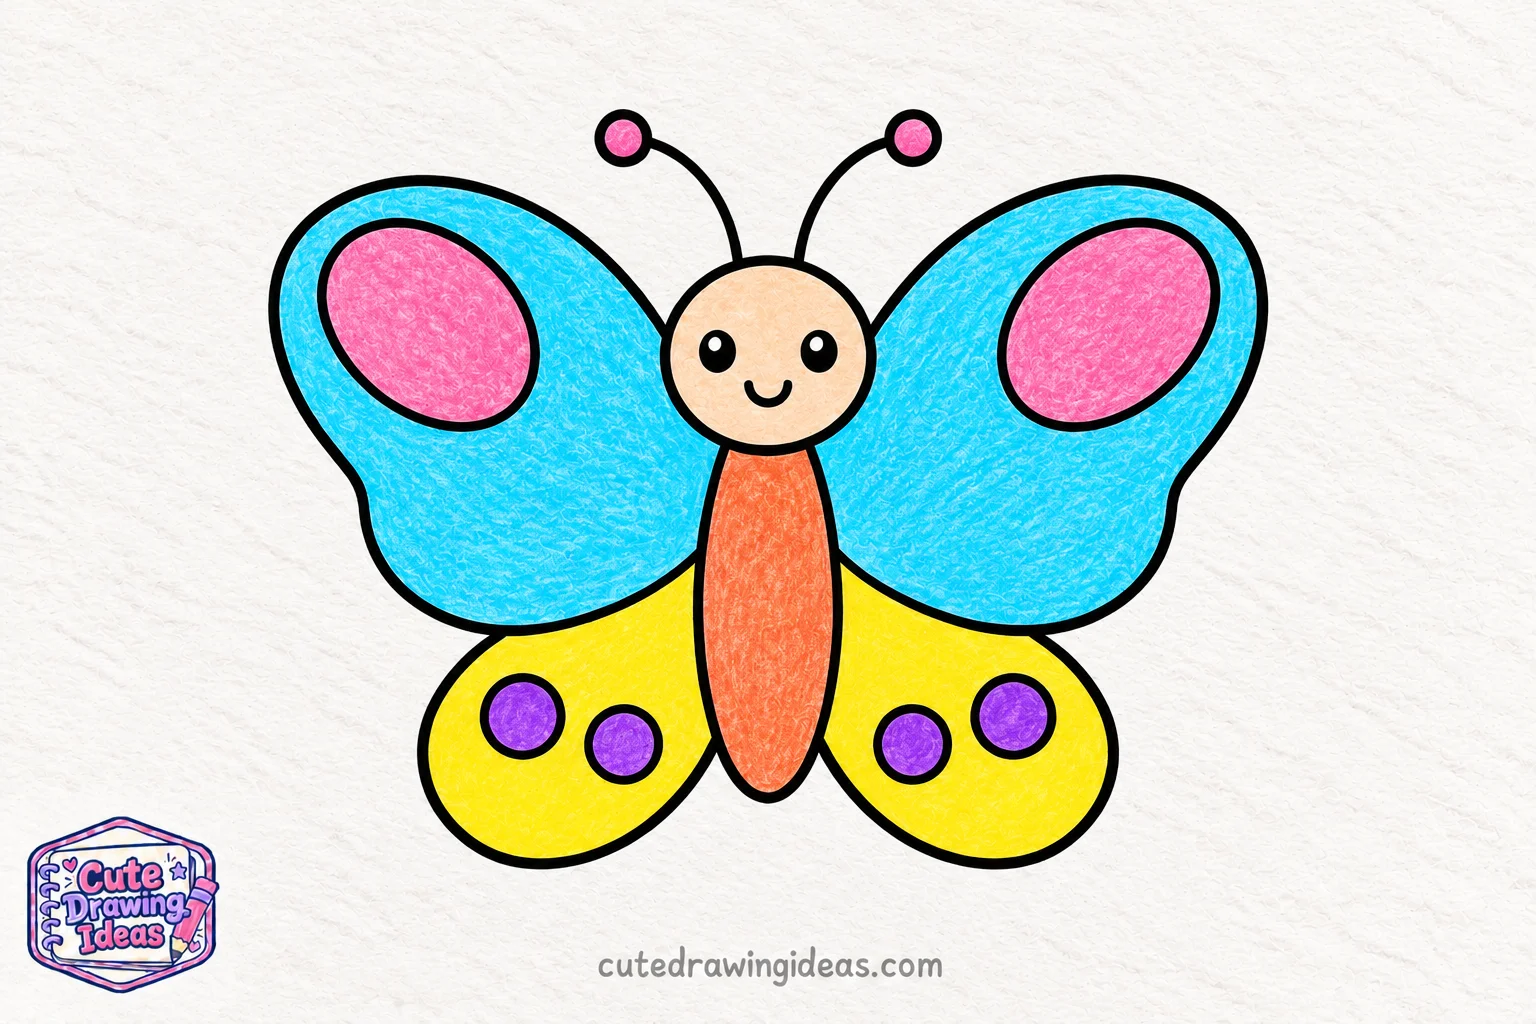
It’s time to bring our butterfly to life with lively, eye-catching colors! I like to color the large upper wings bright turquoise blue and the smaller lower wings sunny yellow. Fill the oval spots with vibrant pink and the little circles with rich purple to make the patterns stand out.
Color the head a soft peach and the body a cheerful coral orange. Add a touch of pink to the antenna tips, and leave the tiny highlights in the eyes white.
Keep the black outlines visible as you color. Our cute butterfly drawing is now full of color and ready to flutter off the page!
How to Draw Symmetrical Butterfly Wings
Getting both wings to match is one of the trickiest parts of a butterfly drawing, especially when you’re just starting.
I find it helpful to imagine a straight vertical line running through the center of the butterfly’s head and body. This divides the drawing into two halves.
When drawing the upper wings, I first notice how far the left wing extends from the body. Then I use that distance to guide the right wing. I do the same for the lower wings.
You can also place two tiny pencil dots on either side of the body to mark where the wing tips should reach. Connect these points with your curved outlines, then erase the dots.
The wings don’t have to be perfectly identical. A little difference between them is perfectly fine in a hand-drawn butterfly sketch.
Easy Tips to Make Your Butterfly Drawing Look Cute
Once you’ve learned the basic outline, a few small techniques can make your butterfly look more polished.
- Leave space around the wing patterns: Avoid placing the oval spots too close to the wing outlines. A little empty space keeps the design clear.
- Outline after sketching: I prefer drawing lightly with a pencil first, then tracing the lines with a black marker once I’m happy with the shapes.
- Color in one direction: Use short, gentle pencil strokes to fill larger areas without leaving too many uneven patches.
- Try a darker border: Add a slightly darker shade around the edge of each wing to make the lighter center stand out.
These little adjustments are useful for other cute butterfly drawings, too, even when you experiment with different wing shapes and patterns.
Why I Love Drawing Butterflies
What I enjoy most about drawing butterflies is how much I can change their appearance without making the drawing complicated.
The same wing outline can look completely different with a few new patterns. Sometimes I draw large spots, and other times I add little hearts or curved stripes. I especially enjoy choosing colors that contrast with each other.
Butterflies are also a lovely subject when I want to practice drawing matching shapes. I can work on one wing first and use it as a guide for the other.
And if I have only a few minutes to sketch, a tiny butterfly doodle is something I can easily fit into the corner of my sketchbook.
Fun Butterfly Drawing Variations
Now that you’ve finished the main tutorial, you can use the same basic butterfly shape to explore a few different styles.
Cute Kawaii Butterfly Drawing
For a kawaii butterfly drawing, make the head slightly larger and shorten the body. Draw tiny sparkling eyes and add two little curved blush marks on the cheeks.
You can also replace the oval wing spots with small hearts. This gives the butterfly a playful cartoon appearance.
Small and Simple Butterfly Doodle
If you want a cute small butterfly drawing, try making a miniature version without the facial features.
Start with a tiny oval body, add four rounded wings, and finish with two short antennae. Use just one dot inside each wing instead of the larger patterns.
I like this version for decorating notebook margins, greeting cards, and the empty spaces around other sketches.
Cute Pink or Blue Butterfly Drawing
Try changing both the colors and patterns for a new design.
For a pink butterfly, use soft pink wings with darker pink heart-shaped spots. Add small scalloped curves along the outer wing edges.
For a blue butterfly, try deep blue wing borders with a lighter blue centre and tiny white dots near the edges. This gives the drawing a different look while keeping it beginner-friendly.
Monarch-Inspired Butterfly Drawing
If you want to try a butterfly design inspired by nature, use the orange and black patterns of a monarch butterfly.
Keep the same basic wing shapes, but replace the large oval spots with a few curved black lines dividing the wings into sections.
Color the sections orange, make the outer borders black, and add small white dots along the edges.
This variation involves a little more detail, so I recommend trying it after you’ve practised the original butterfly drawing.
Fun Facts About Butterflies
Here are a few interesting things about real butterflies that I like to remember while drawing them.
- Butterflies have four wings. They have two forewings at the front and two hindwings behind them, even though the wings can sometimes look like just one pair.
- Their wings are covered in tiny scales. These scales help create the beautiful colors and patterns we see on butterfly wings.
- Butterflies begin life as caterpillars. They go through several stages, including the chrysalis stage, before becoming adult butterflies.
- Butterflies can taste with their feet. Special taste receptors help them identify suitable plants, including places to lay their eggs.
- Many butterflies help flowers. While drinking nectar, they can carry pollen from one flower to another, helping with pollination.
Frequently Asked Questions
What Is the Easiest Way to Draw a Cute Butterfly?
The easiest method is to start with a circular head and a narrow oval body. Add two large upper wings and two smaller lower wings, then finish with antennae, facial features, and simple patterns. Drawing one part at a time makes the butterfly easier to manage.
How Do You Make a Butterfly Drawing Look Cute?
Try giving your butterfly a round head, a small smile, and softly curved wings. You can also add little heart-shaped spots or cheek blush marks if you want a more playful cartoon butterfly.
Can I Draw a Cute Butterfly with Just a Pencil?
Yes! You can make a complete cute butterfly sketch using only a pencil and eraser. Draw the outlines lightly, then trace over them with a little more pressure. You can shade the wing patterns with your pencil instead of adding colour.
What Colors Should I Use for a Cute Butterfly Drawing?
You can choose any colors you enjoy. Pink and purple create a soft, playful look, while turquoise, yellow, and orange make the butterfly more vibrant. If you want a gentler design, try pastel blue, lavender, and peach.
How Can I Make Both Butterfly Wings Look the Same?
Try marking the outermost point of each wing with a small pencil dot before drawing the curves. Place the dots at equal distances from the body and at the same height. This gives you a useful reference for keeping the wings balanced.
How Can I Fix a Butterfly Wing That Looks Uneven?
First, compare the two wing tips to see which one is higher or farther from the body. If you’re still sketching in pencil, lightly erase the uneven curve and redraw just that section. There’s no need to start the whole butterfly again.
Keep Drawing
I hope you enjoyed drawing this cheerful little butterfly with me! Once you’ve learned the basic shape, you can create your own wing patterns, expressions, and color combinations.
Share your fish drawing with us on Pinterest and keep trying more cute drawing ideas.