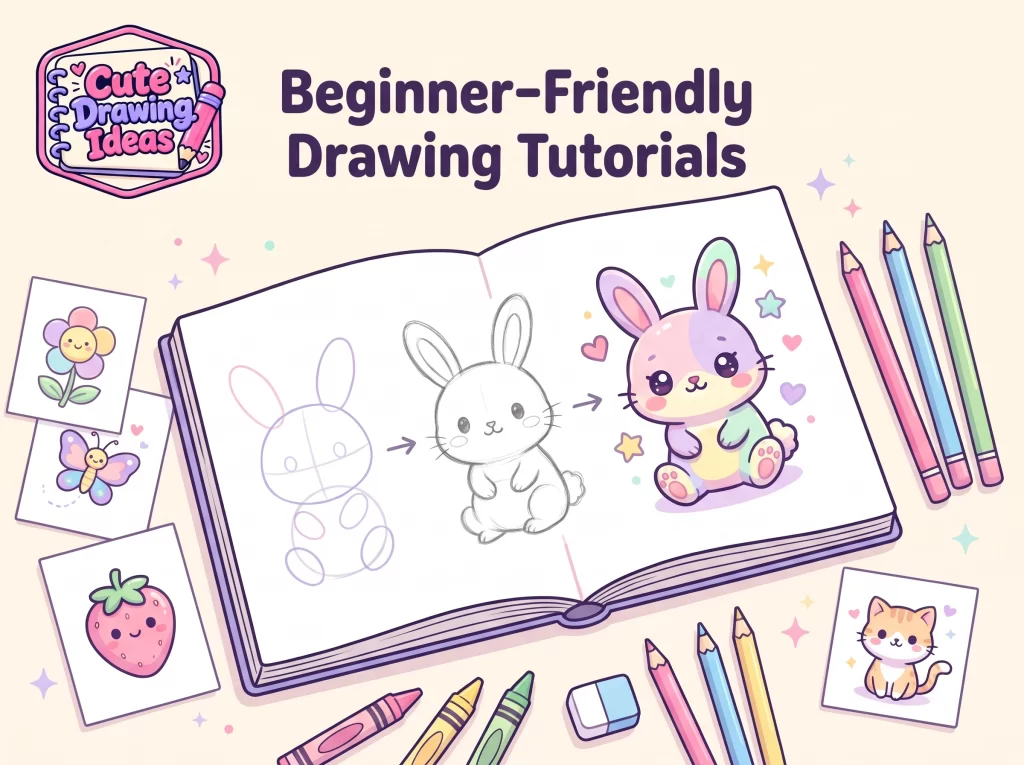
Beginner-Friendly Drawing Tutorials
Starting to draw is easier when someone shows you the first line, then the second, then the third.
Beginner-friendly tutorials do exactly that. Each one takes a cute subject, such as a fruit, a ladybug, or a round-faced puppy, and breaks it into a few simple stages. You never have to guess what comes next.
Most beginners don’t struggle because they lack talent. They struggle because they aren’t sure where to start or because they expect their first drawing to look perfect. This page explains how our beginner tutorials work, what you need, and how to build confidence one small drawing at a time.
Start Drawing Without Feeling Lost

A good first tutorial should feel almost too easy. That is on purpose. When the first step is small, you finish the drawing, and finishing is what makes you want to draw again.
Who these tutorials are for
Children who want a calm, screen-free activity with steps they can follow.
Parents who want to sit down and draw together, even with no art background.
Teachers who need a short, low-prep art activity for a lesson or a quiet moment.
Adults who have never drawn or who stopped years ago and want a gentle restart.
What Makes a Tutorial Beginner-Friendly?
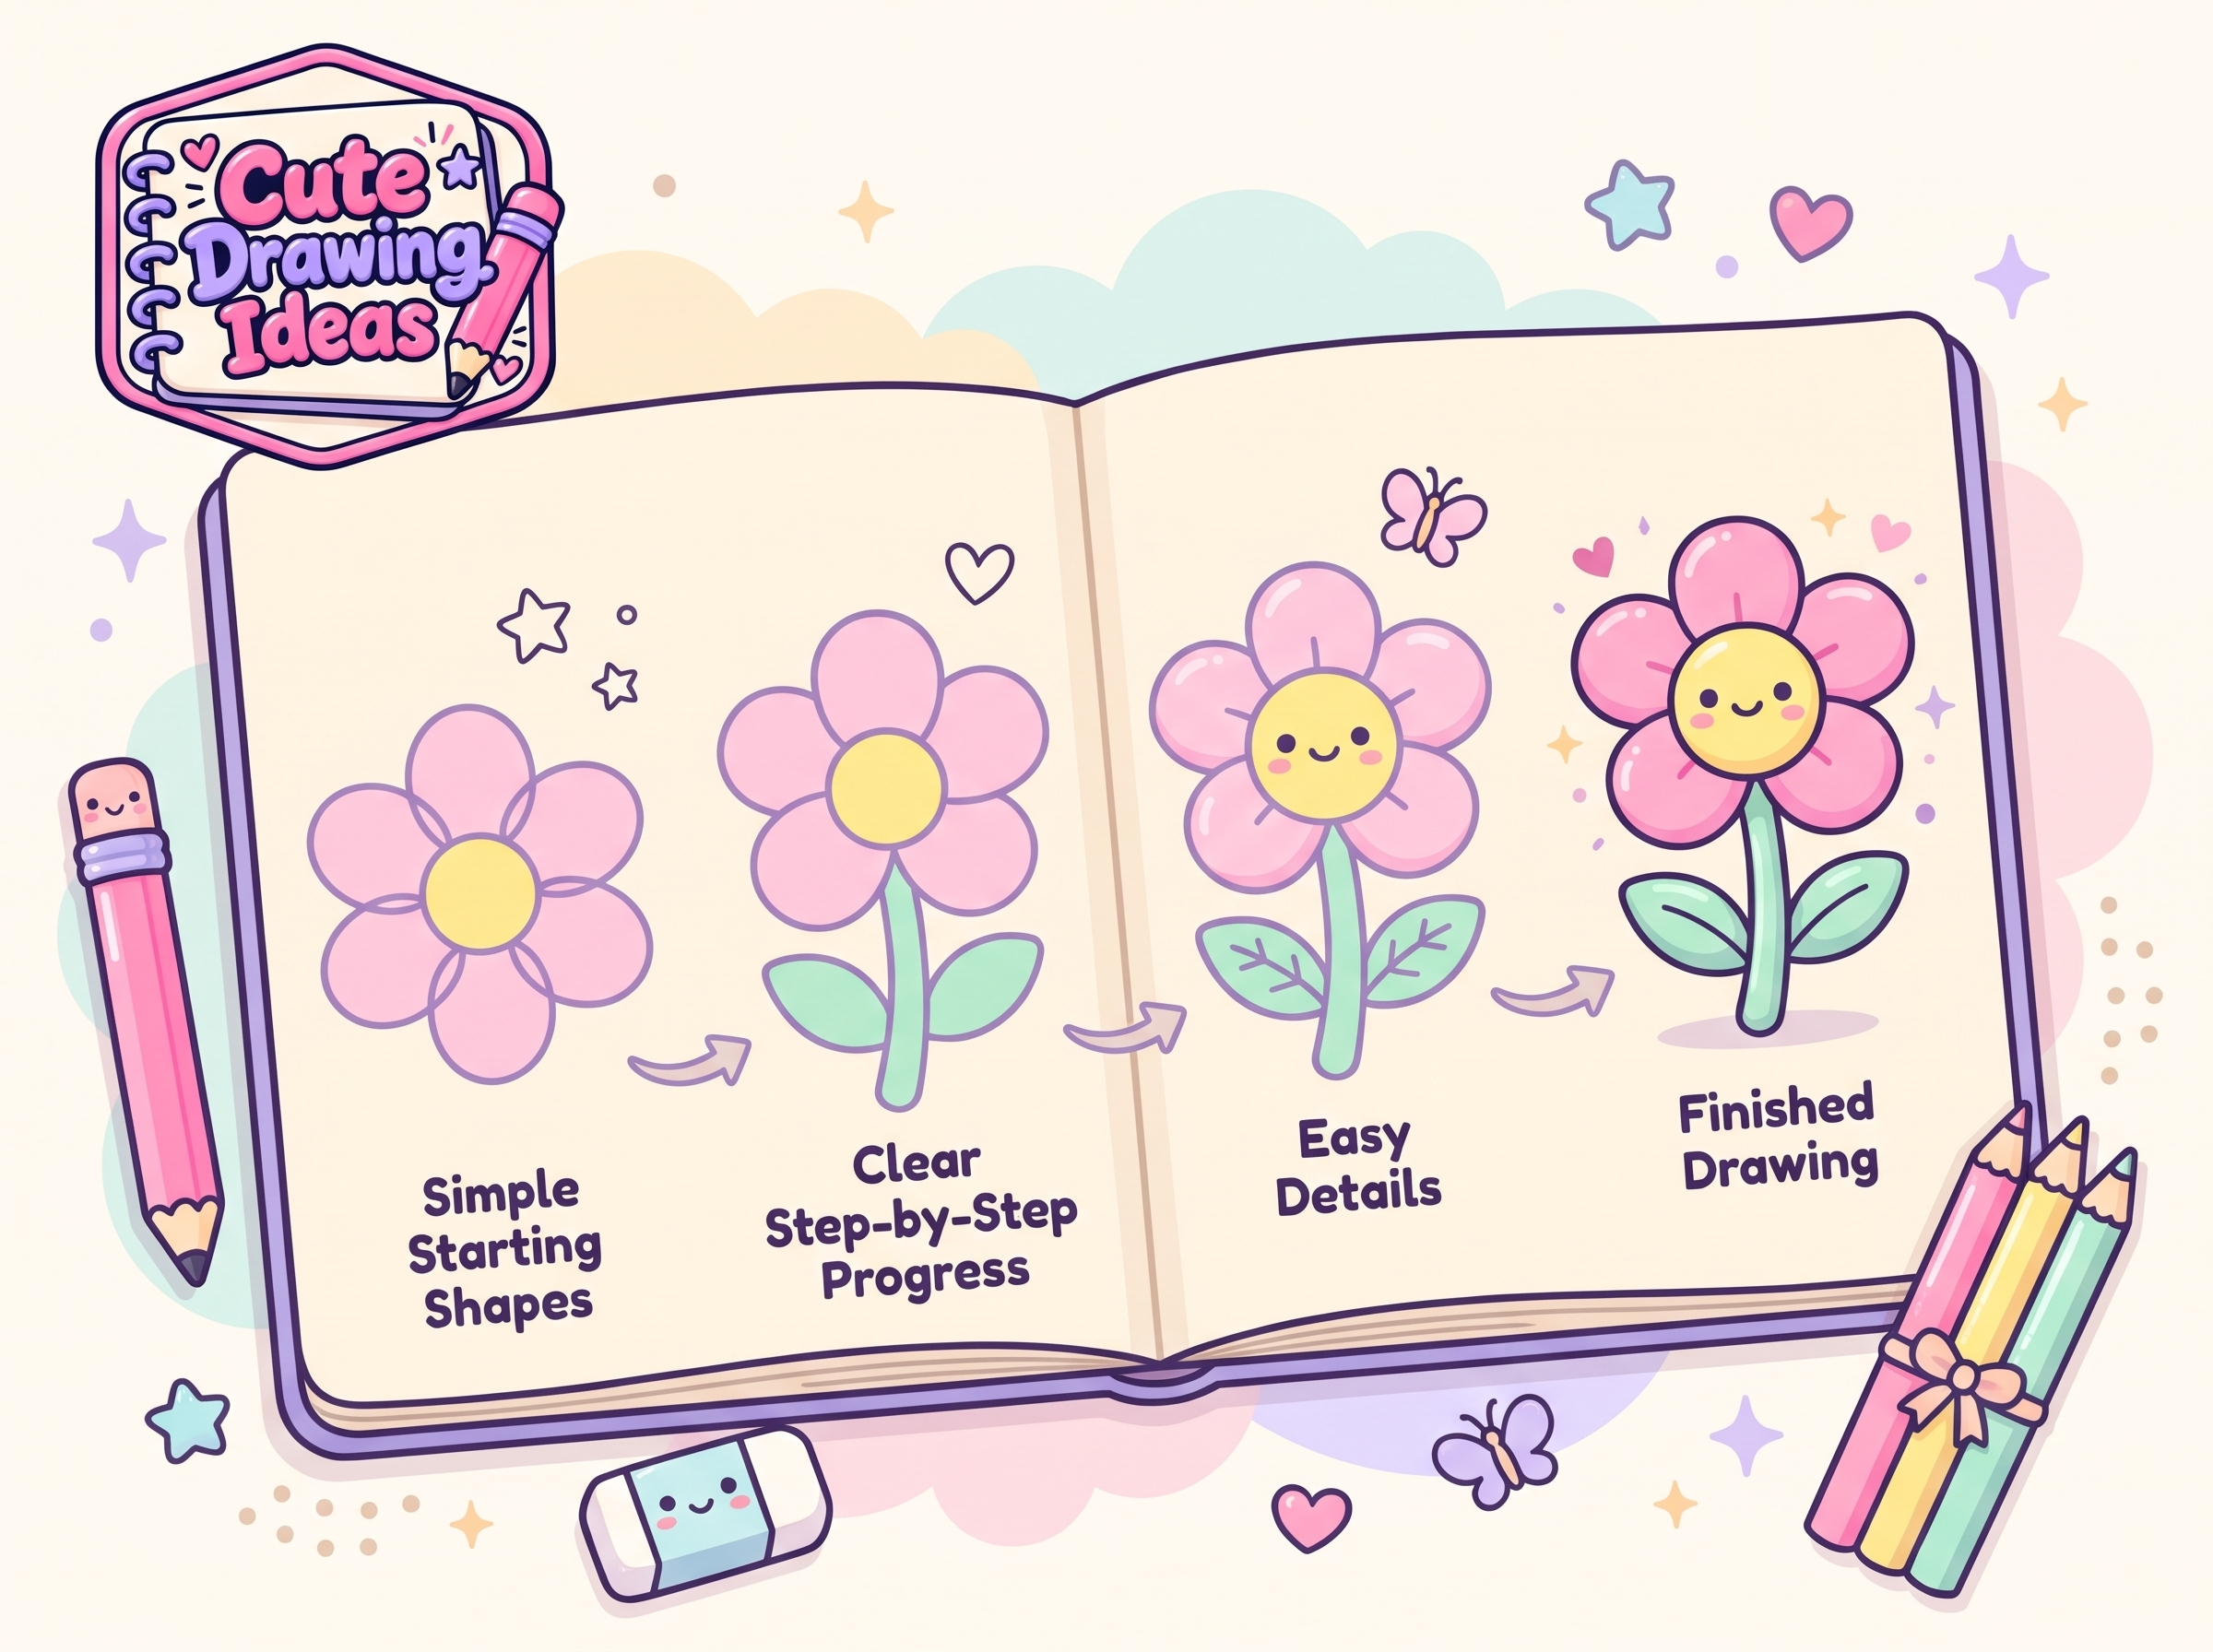
Not every drawing guide is right for a beginner. These are the qualities that make a tutorial easy to follow.
Few shapes, simple order
Beginner subjects are built from a small number of shapes, such as a circle for a head, an oval for a body, and a triangle for an ear. You start with the biggest shape and add smaller parts one at a time.
One or two new lines per stage
Each stage adds only a little. If you can finish one stage, you can finish the next, and the picture appears gradually instead of all at once.
Friendly subjects
Beginner drawings use rounded, familiar subjects: snacks, pets, small bugs, and everyday objects. Soft shapes forgive wobbly lines, so mistakes hardly show.
Room to make it your own
You can change the colors, add a face, or draw a different expression. A tutorial gives you a starting point, not a rule.
How a Beginner Tutorial Works, Step by Step
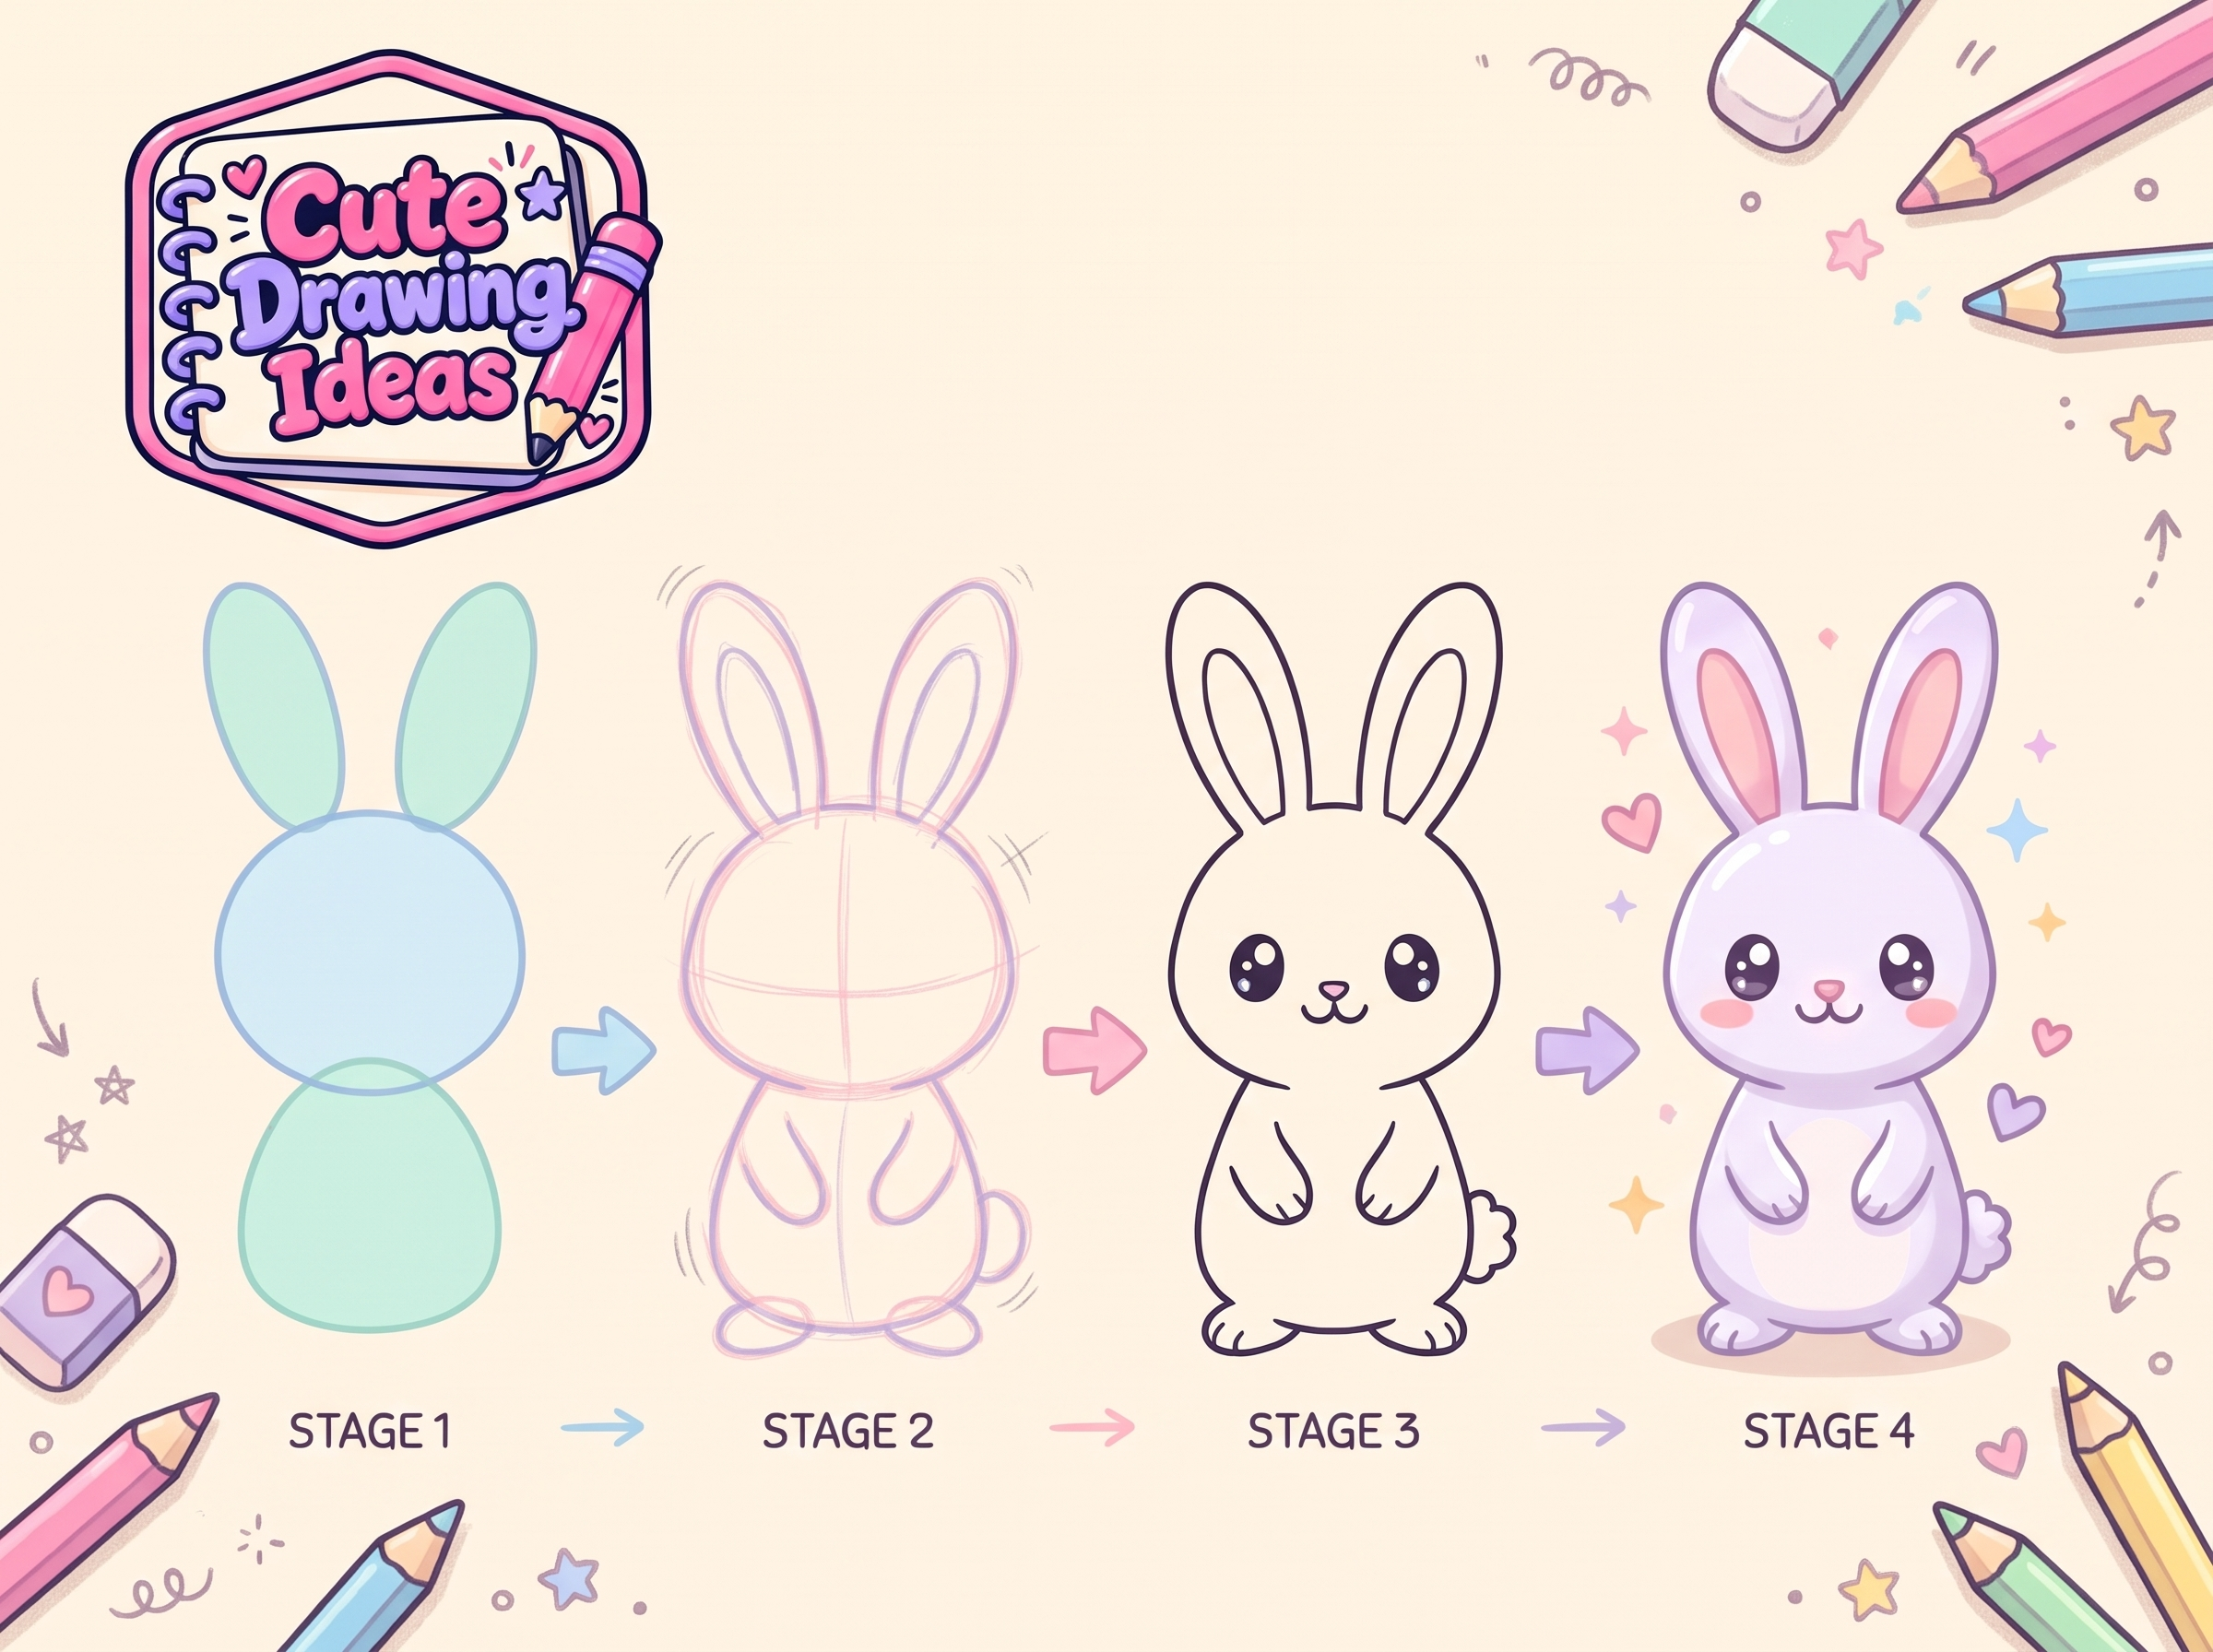
Almost every beginner drawing follows the same path. Once you know it, you can follow any tutorial with confidence. Here it is with a smiling apple as the example.
Step 1: Pick a subject you like.
Choose something that makes you smile. A drawing you’re excited about is easier to finish than one you picked only because it looked simple.
Step 2: Set up your supplies.
A pencil, an eraser, and a sheet of paper are enough. Save colored pencils, crayons, or markers for the end.
Step 3: Lightly draw the main shape.
For the apple, draw a slightly wide circle. Press so lightly that the line is barely visible. This shape is only a guide, so it doesn’t have to be perfect.
Step 4: Add the second shape.
Draw a small curved line at the top for the stem and a leaf shape beside it. Placing smaller parts after the main shape helps you judge size and position.
Step 5: Refine the outline.
Go over the shape with a smoother line. Add a small dip at the top where the stem sits, and round the bottom slightly. Short, light strokes work well if long lines feel wobbly.
Step 6: Add a face and details.
Draw two small oval eyes, a tiny smile, and a little blush on each cheek. Keep the face small and place it a bit low on the apple. A few simple details look cuter than many.
Step 7: Erase the guides and add color.
Gently erase any guide lines you no longer need. Then color your apple red, green, or any color you like. A small highlight on one side adds a finished touch.
The Basic Shapes Every Beginner Should Know
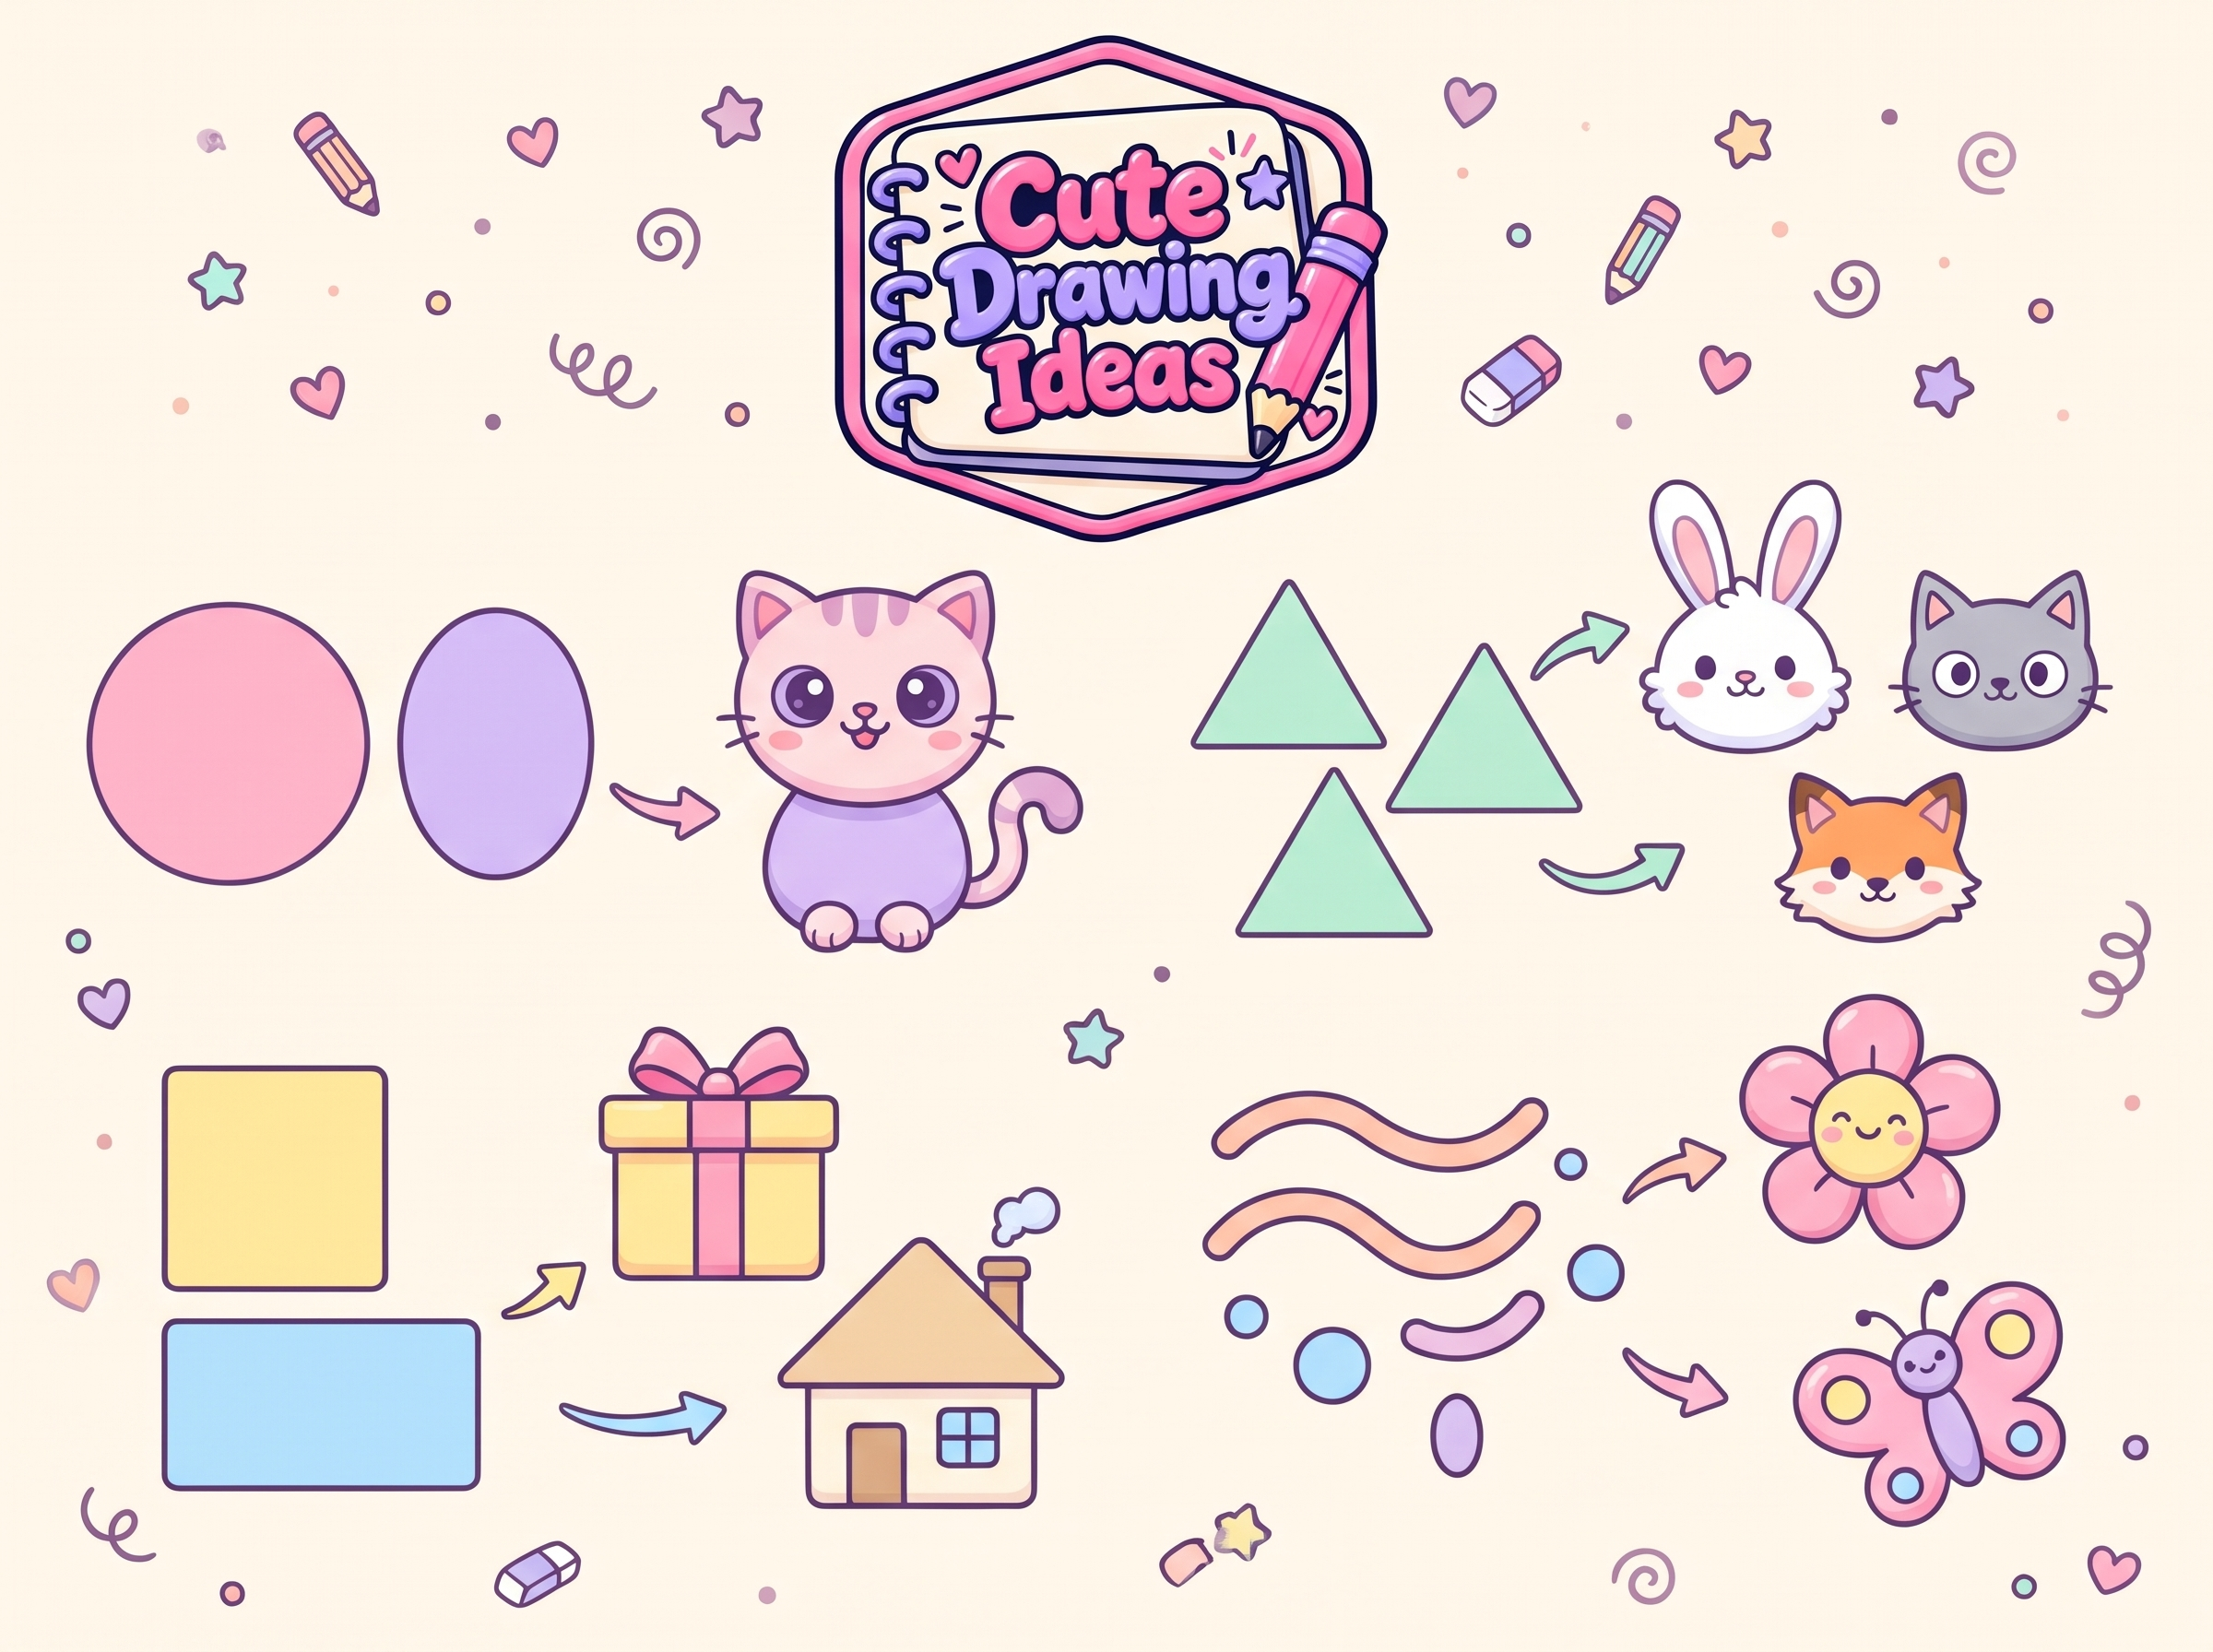
You don’t need to memorize anything. These shapes appear again and again in our beginner tutorials.
Circles and ovals: heads, bodies, fruits, bubbles, and eyes.
Triangles: ears, cones, sails, and mountains.
Rounded rectangles: books, cups, boxes, and phones.
Curves and short lines: smiles, tails, leaves, whiskers, and antennae.
If you like, spend five minutes before your first tutorial drawing a row of each shape. It warms up your hand and shows you how simple the building blocks are.
Choose a Beginner Category to Begin
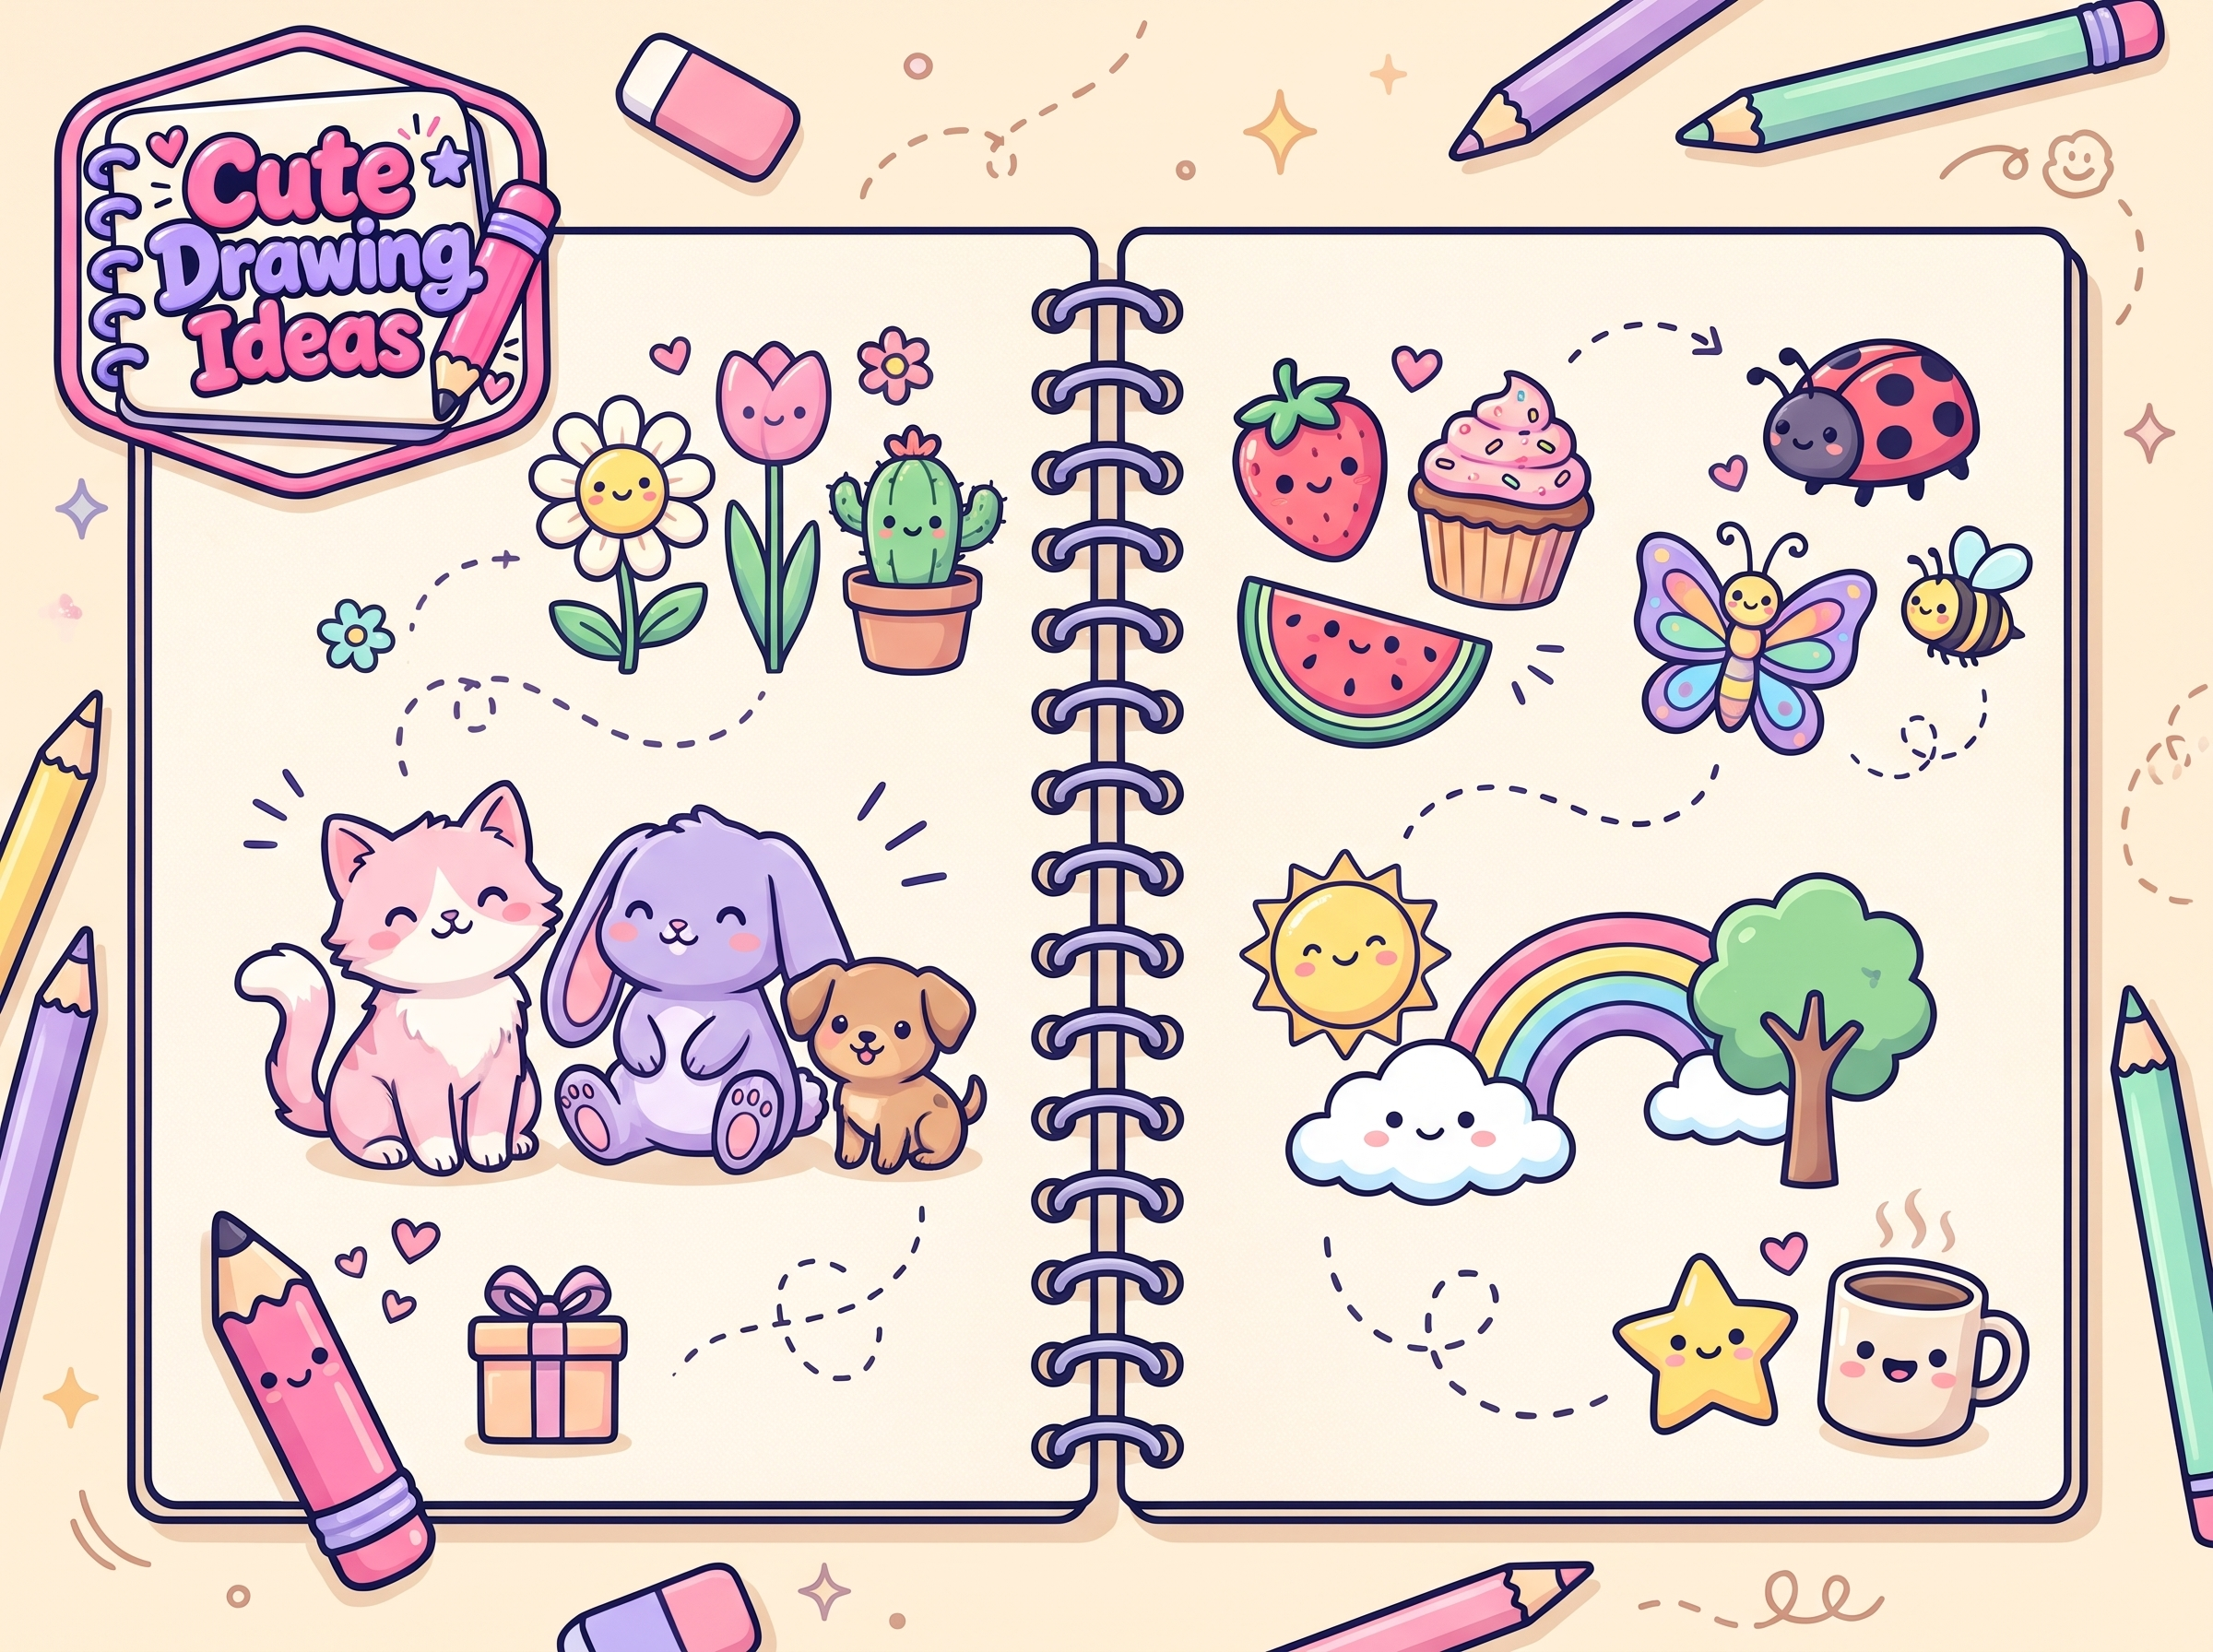
Our beginner tutorials are grouped by subject, so you can start with whatever you enjoy most.
Food
Pizza slices, fruits, cupcakes, and ice cream are made of rounds and triangles, which makes them an easy first choice. A smiling face turns any snack into a character.
Bugs
Ladybugs, bees, and caterpillars start with circles and ovals. Their small, repeated parts, such as spots and stripes, are good practice for patience.
Cute Objects
Cups, books, backpacks, and lamps are everyday items you can study in real life while you draw. Round the corners to make them look friendlier.
Nature
Flowers, leaves, clouds, and simple trees repeat a few shapes. They are relaxing to draw and look lovely in soft colors.
Pets
Cats, dogs, and rabbits begin with a round head and a soft body. Small changes, such as droopy ears or a tilted head, give each pet its own personality.
Reptiles
Turtles, lizards, and little dinosaurs use ovals, curves, and simple patterns. A round shell or a curved tail is easier than it looks.
Sea Animals
Fish, whales, octopuses, and starfish have soft, flowing shapes. Because the bodies are simple, they work well for early practice.
Your First Week of Beginner Drawing
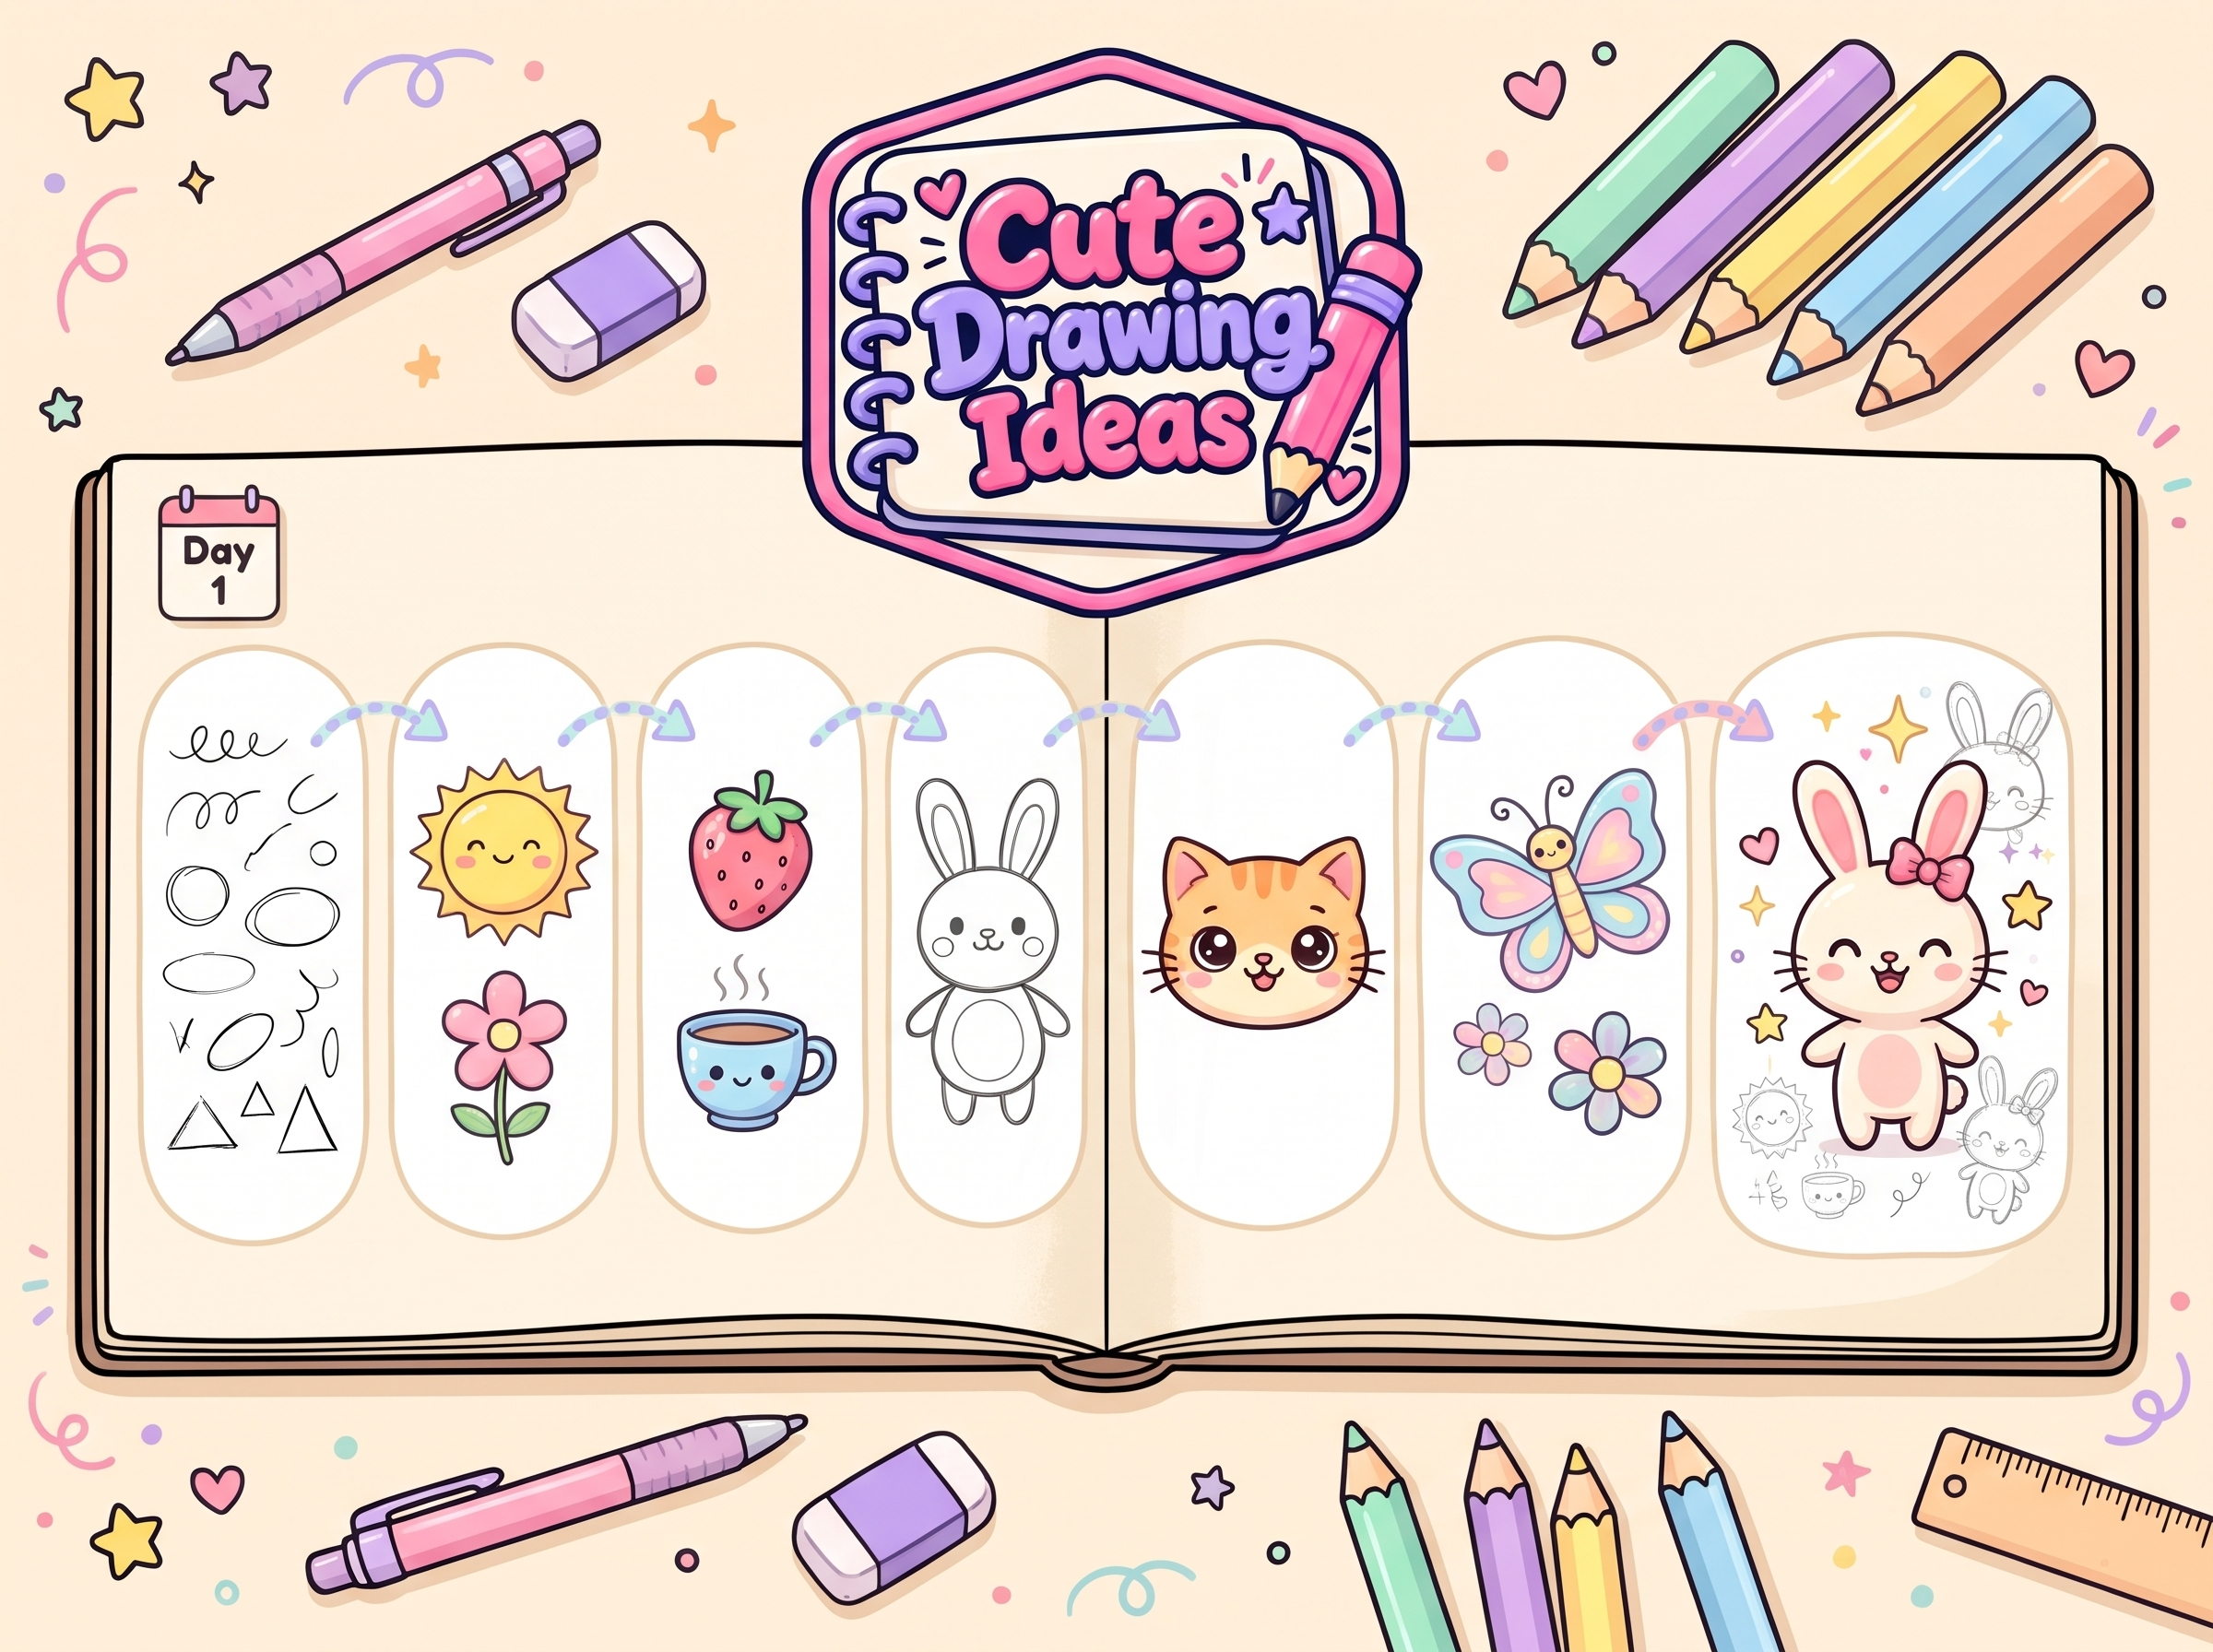
If you want a plan, here is an easy way to begin. Ten to fifteen minutes a day is plenty.
Day 1: Draw rows of circles, ovals, triangles, and curves.
Day 2: Draw one simple fruit or snack.
Day 3: Draw a ladybug or another small bug.
Day 4: Draw a round-faced pet.
Day 5: Draw a cute object from your desk or kitchen.
Day 6: Redraw your favorite so far and add your own detail.
Day 7: Put your drawings side by side and notice what has improved.
Skip days or go slowly if you like. There is no deadline.
Tips to Get More From Every Tutorial
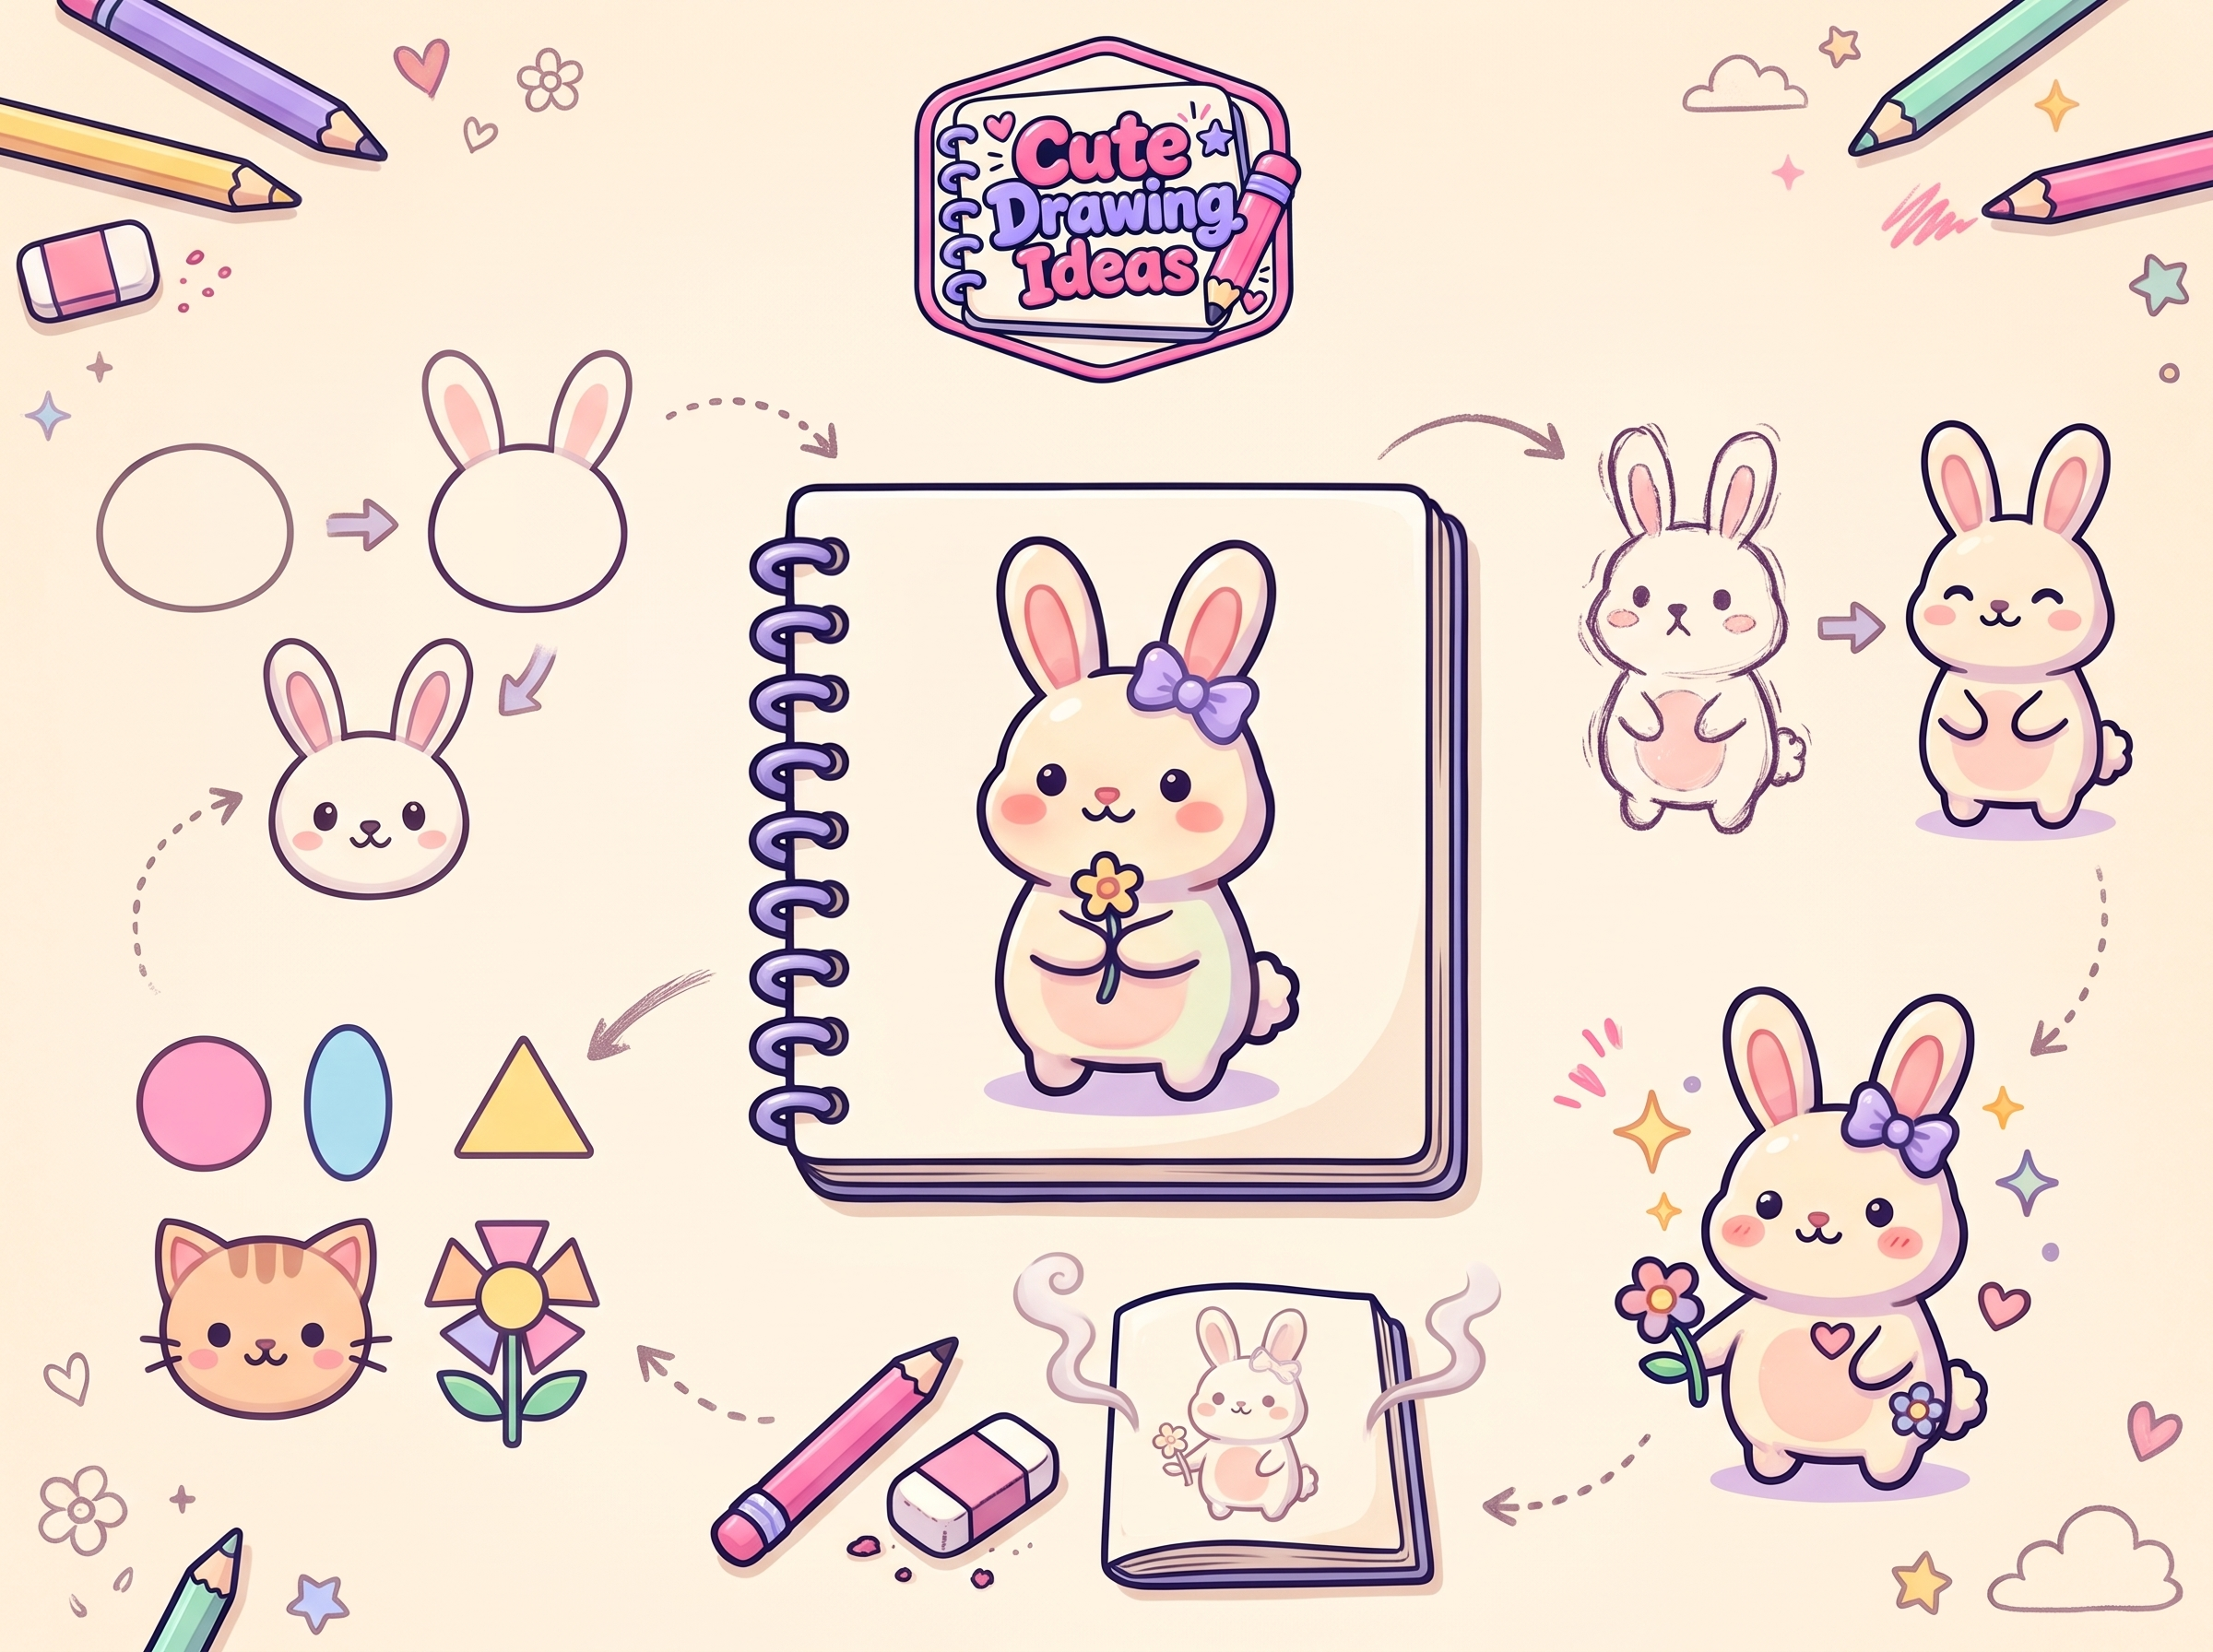
Read the whole tutorial first. A quick look at all the stages shows you where the drawing is headed.
Draw lightly until the end. Light lines are easy to erase and adjust. Darken only the final outline.
Use most of the page. A bigger drawing leaves room for faces and details.
Keep faces simple. Two small eyes and a tiny smile are often enough. Place them a little low for a cuter look.
Repeat favorites. Your second or third attempt at the same subject is usually noticeably better.
Treat mistakes as information. A crooked line shows you what to adjust. Erase it, try again, or turn it into a feature.
Ways to Use Beginner Tutorials
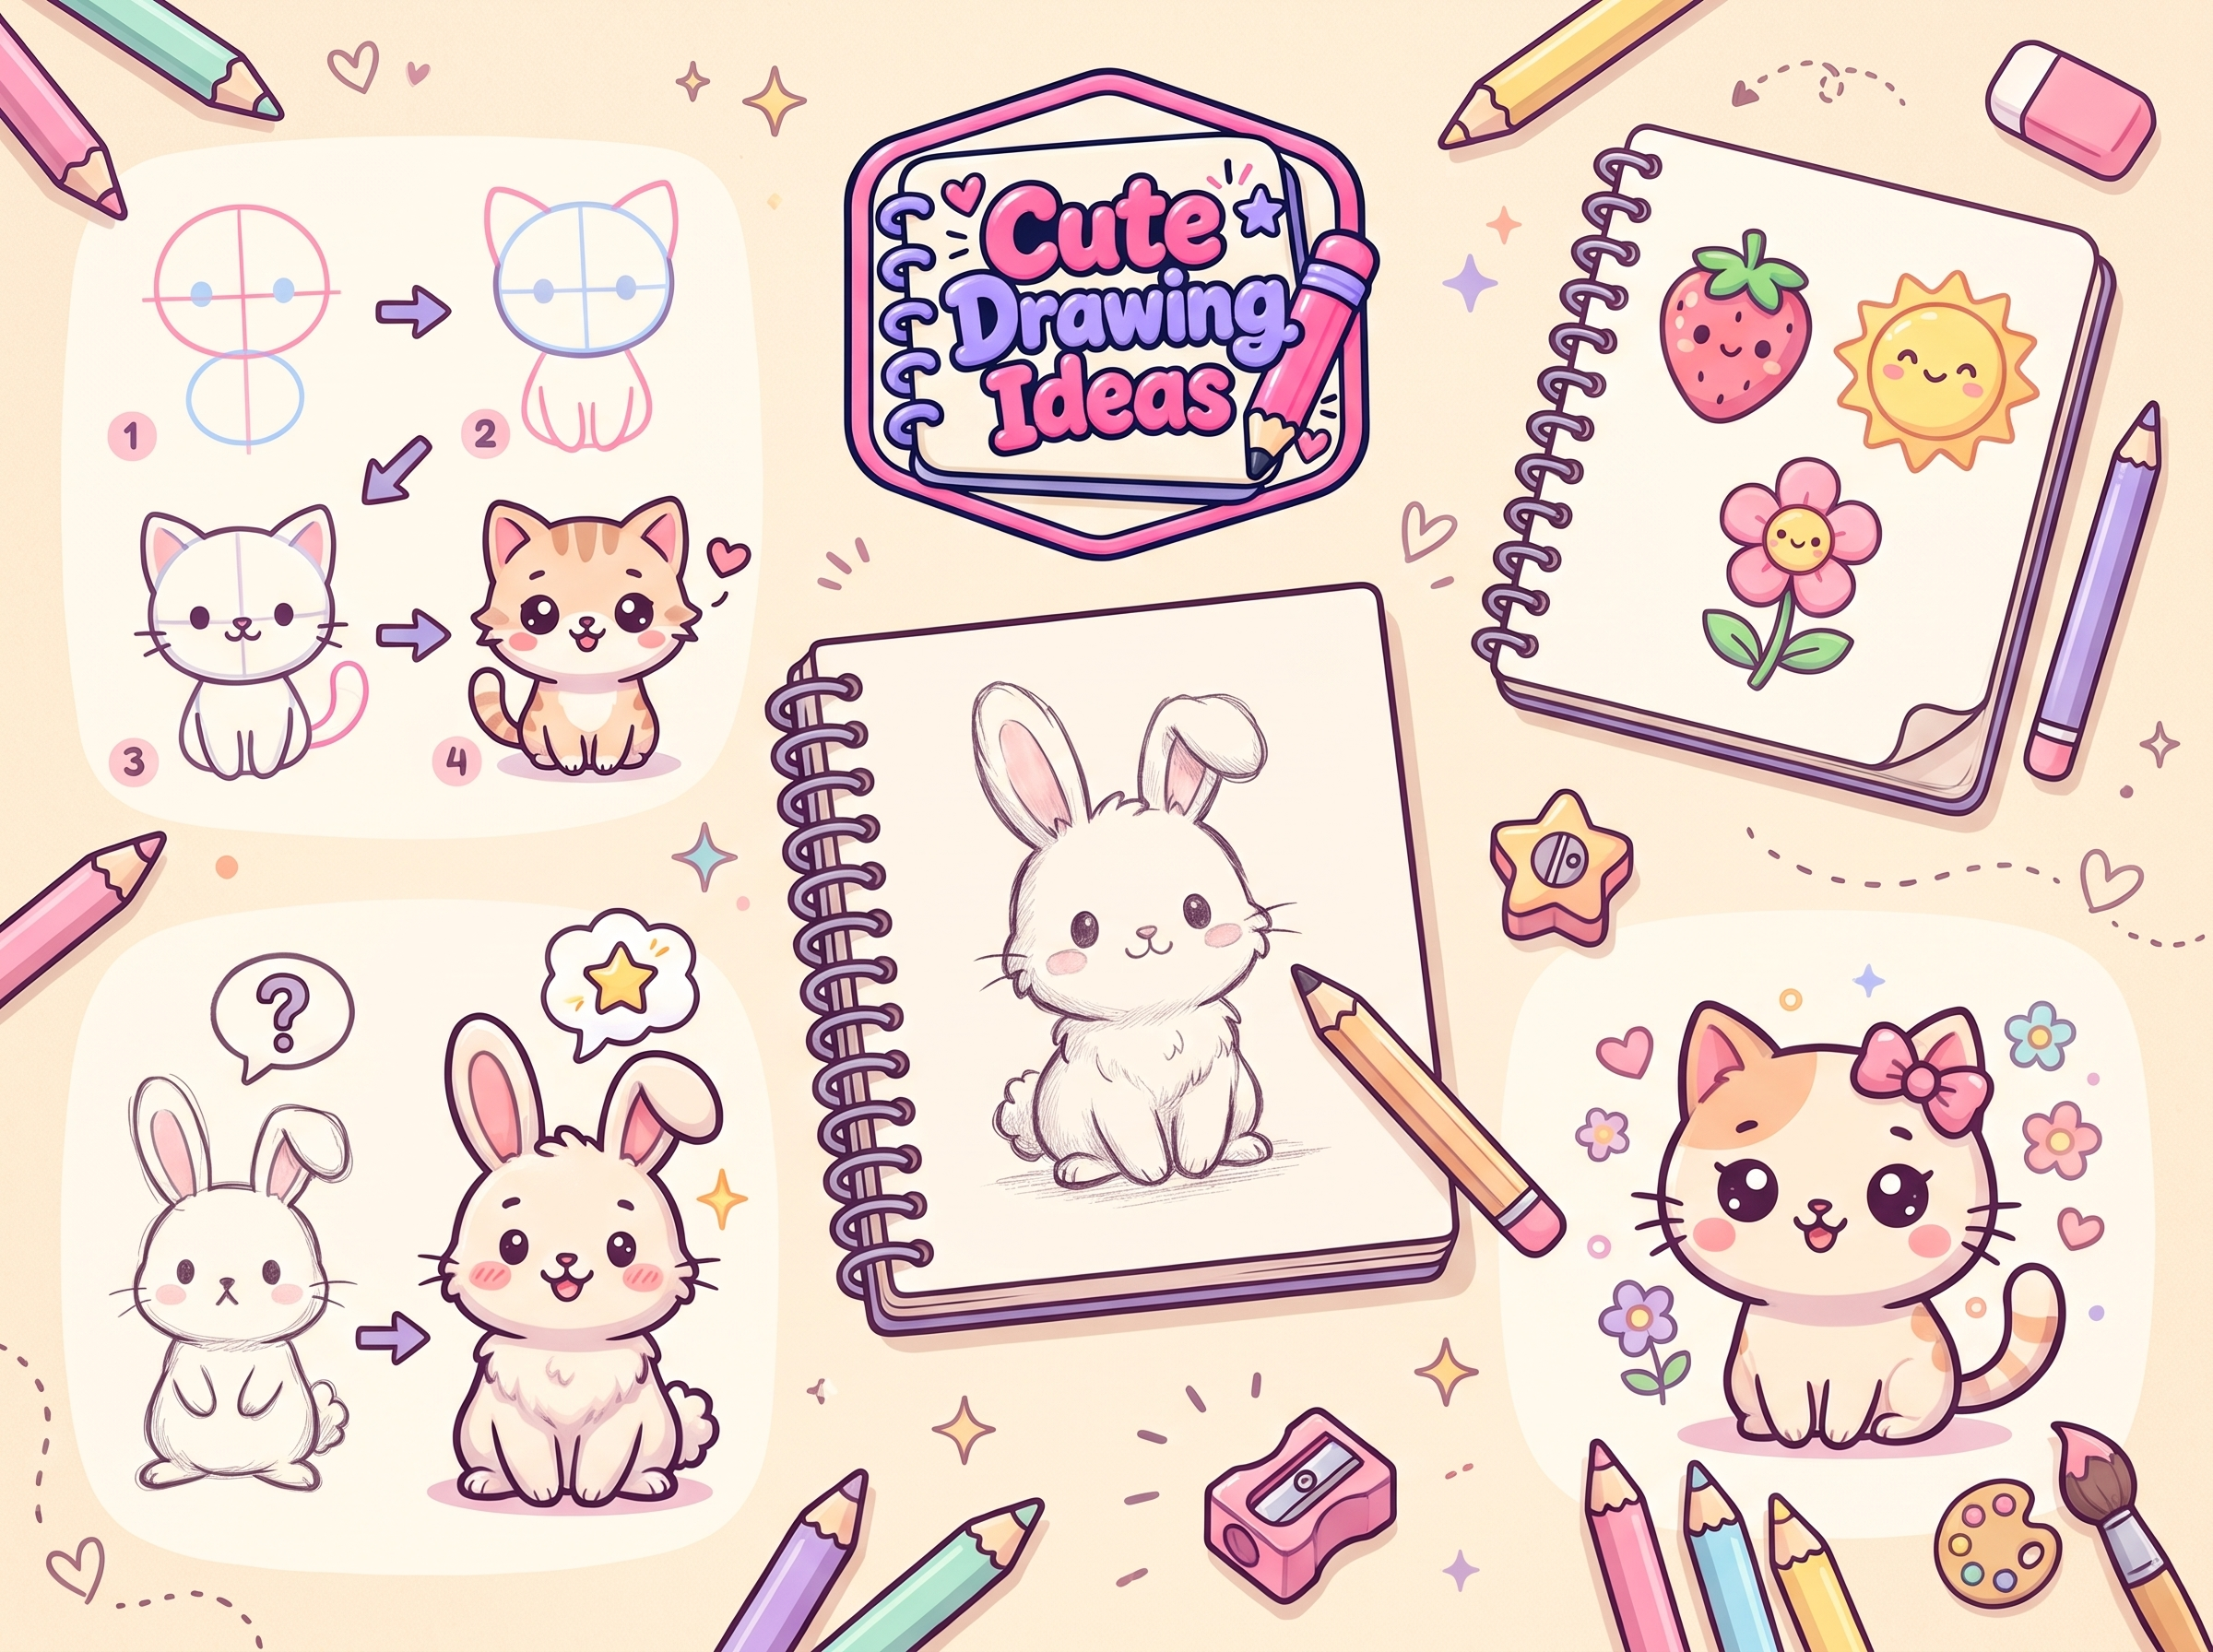
At home: Choose one tutorial and draw it together. Compare results, then hang the drawings on the fridge or turn them into cards.
In the classroom: A single tutorial fits into a short activity slot. It can also support a theme, such as drawing flowers and leaves during a lesson on plants.
For personal practice: Fill a small sketchbook one page at a time. Many people find a few minutes of drawing relaxing.
On a tablet: Draw guide shapes on one layer in a light color, outline on a new layer, and delete the guide layer when it’s time to erase.
When You’re Ready for More
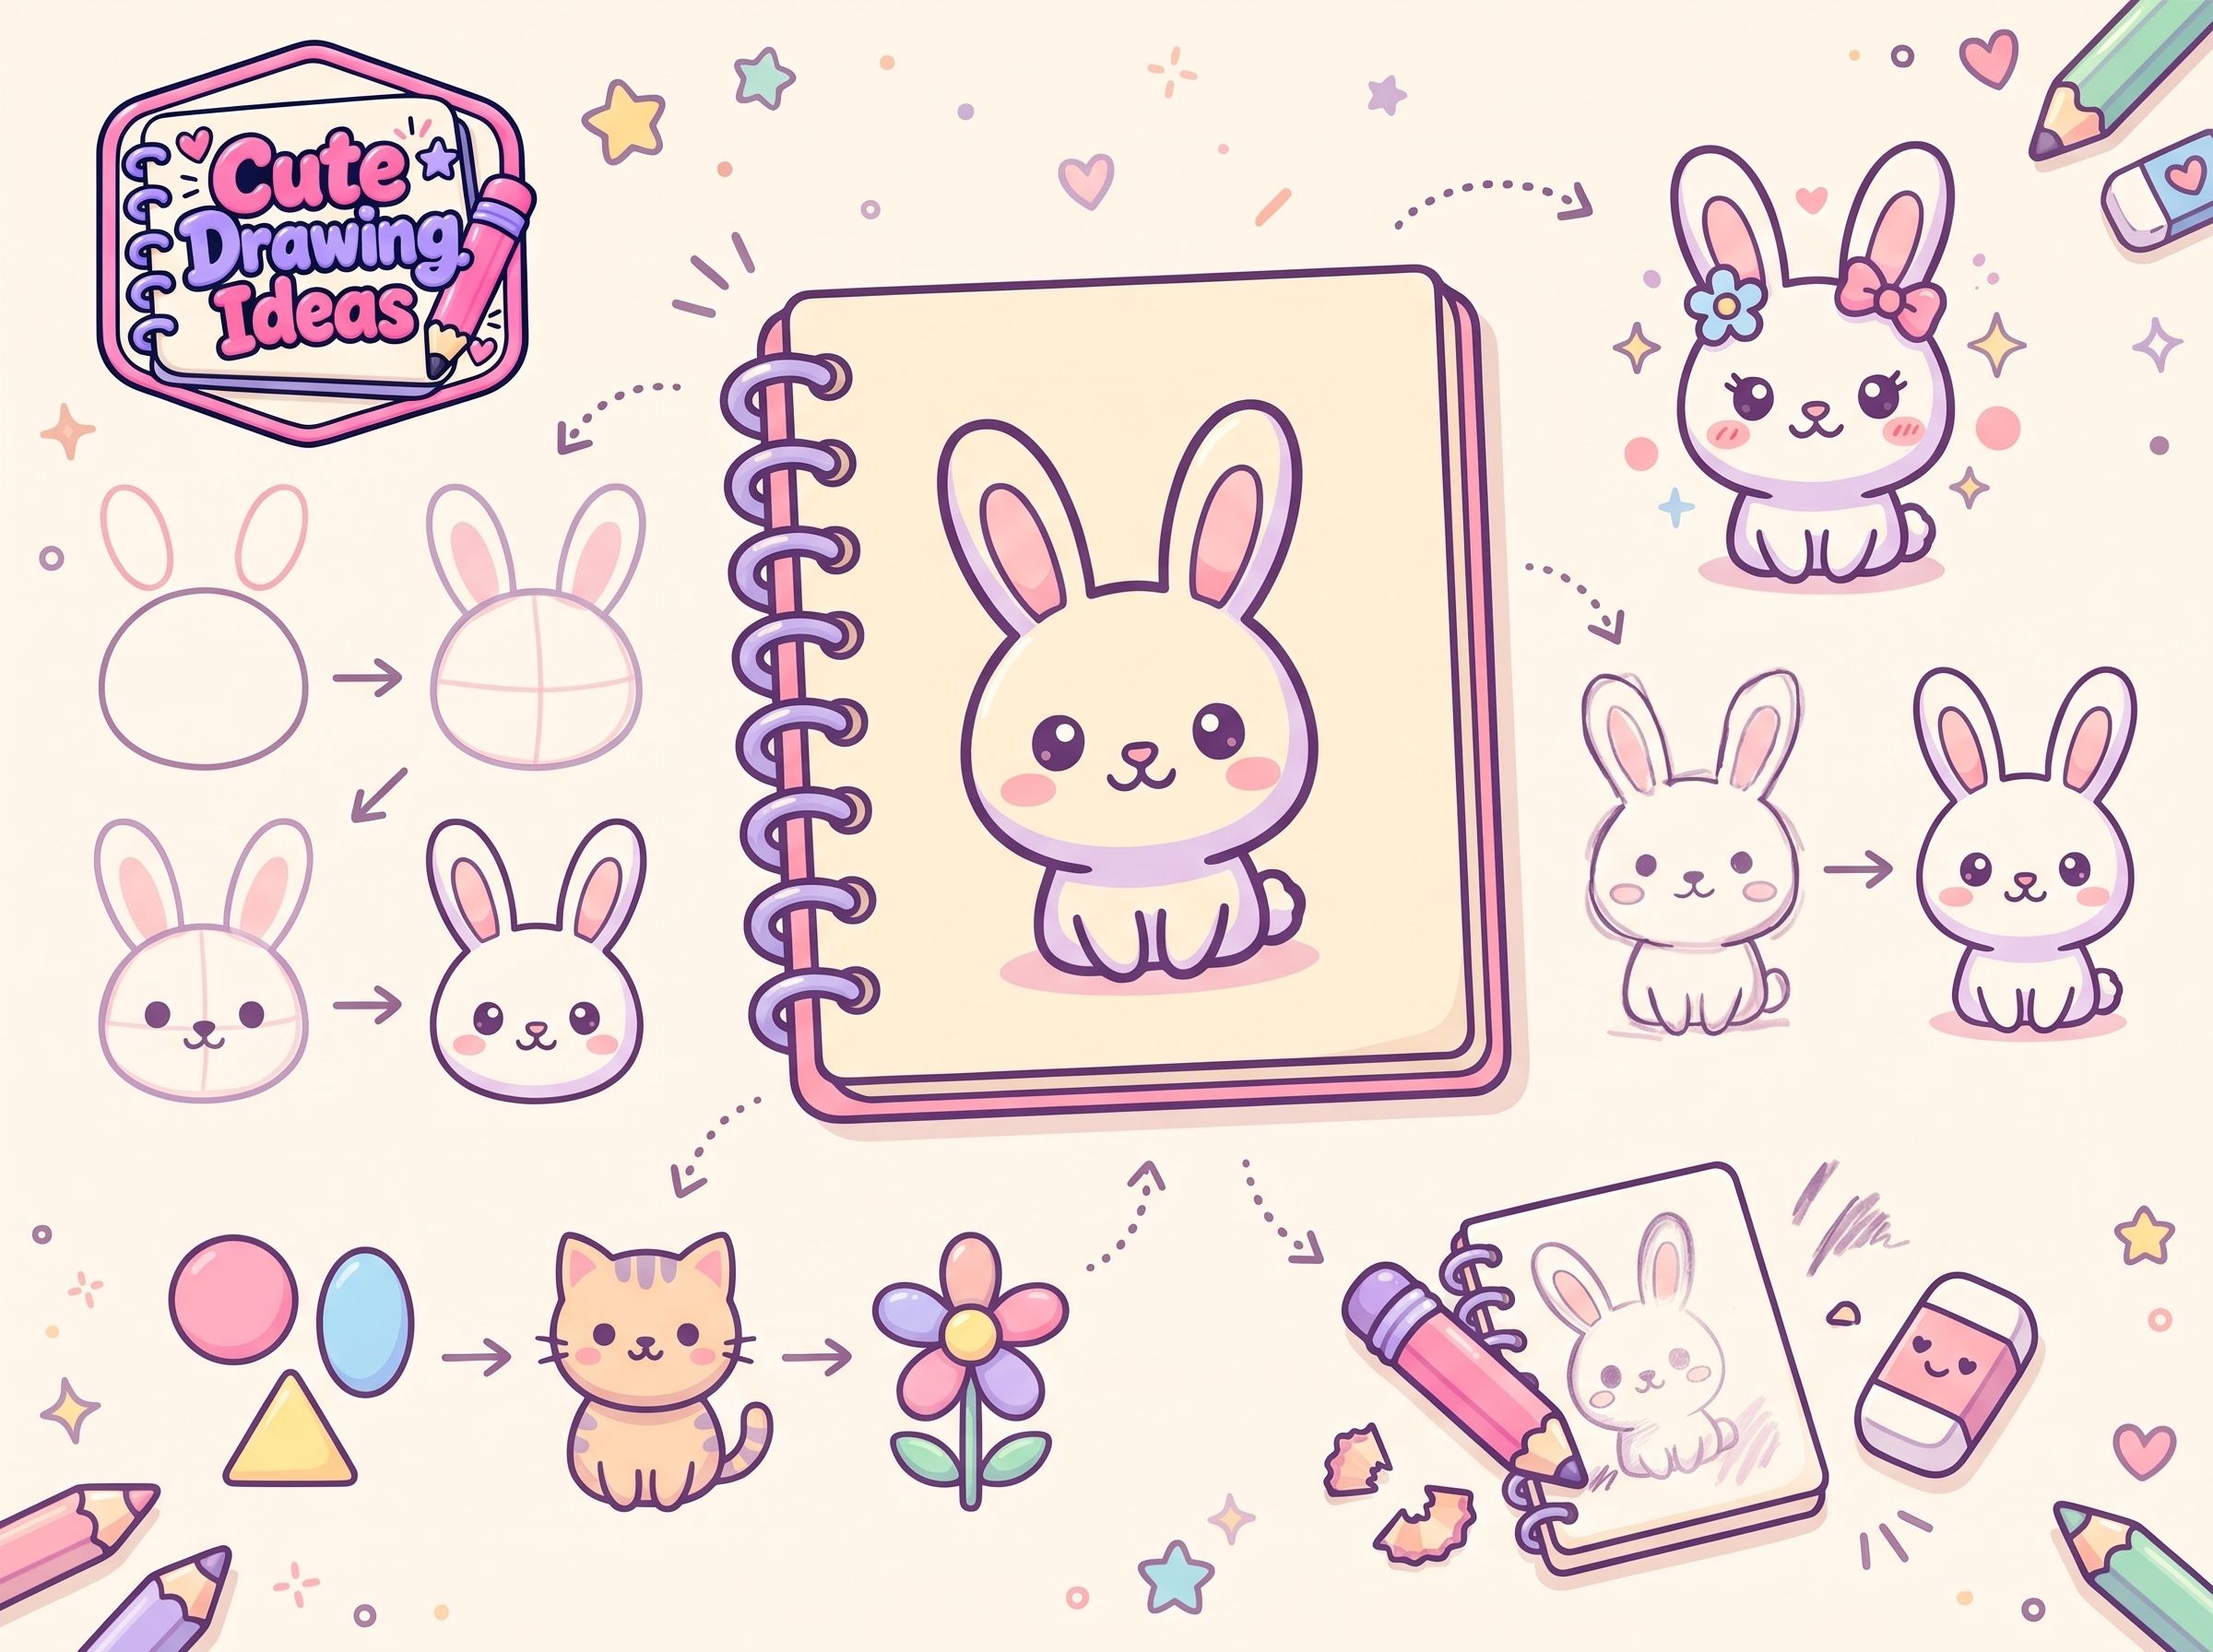
When beginner drawings feel comfortable, you can move up gradually. Intermediate tutorials add more parts, such as full-body animals, flowers with leaves, and farm or wild animals. Advanced tutorials bring more detail, including mythical creatures and trending animals. Moving up one step at a time keeps drawing enjoyable, and you can always return to a beginner favorite.
Why Choose Cute Drawing Ideas for Your First Tutorials?
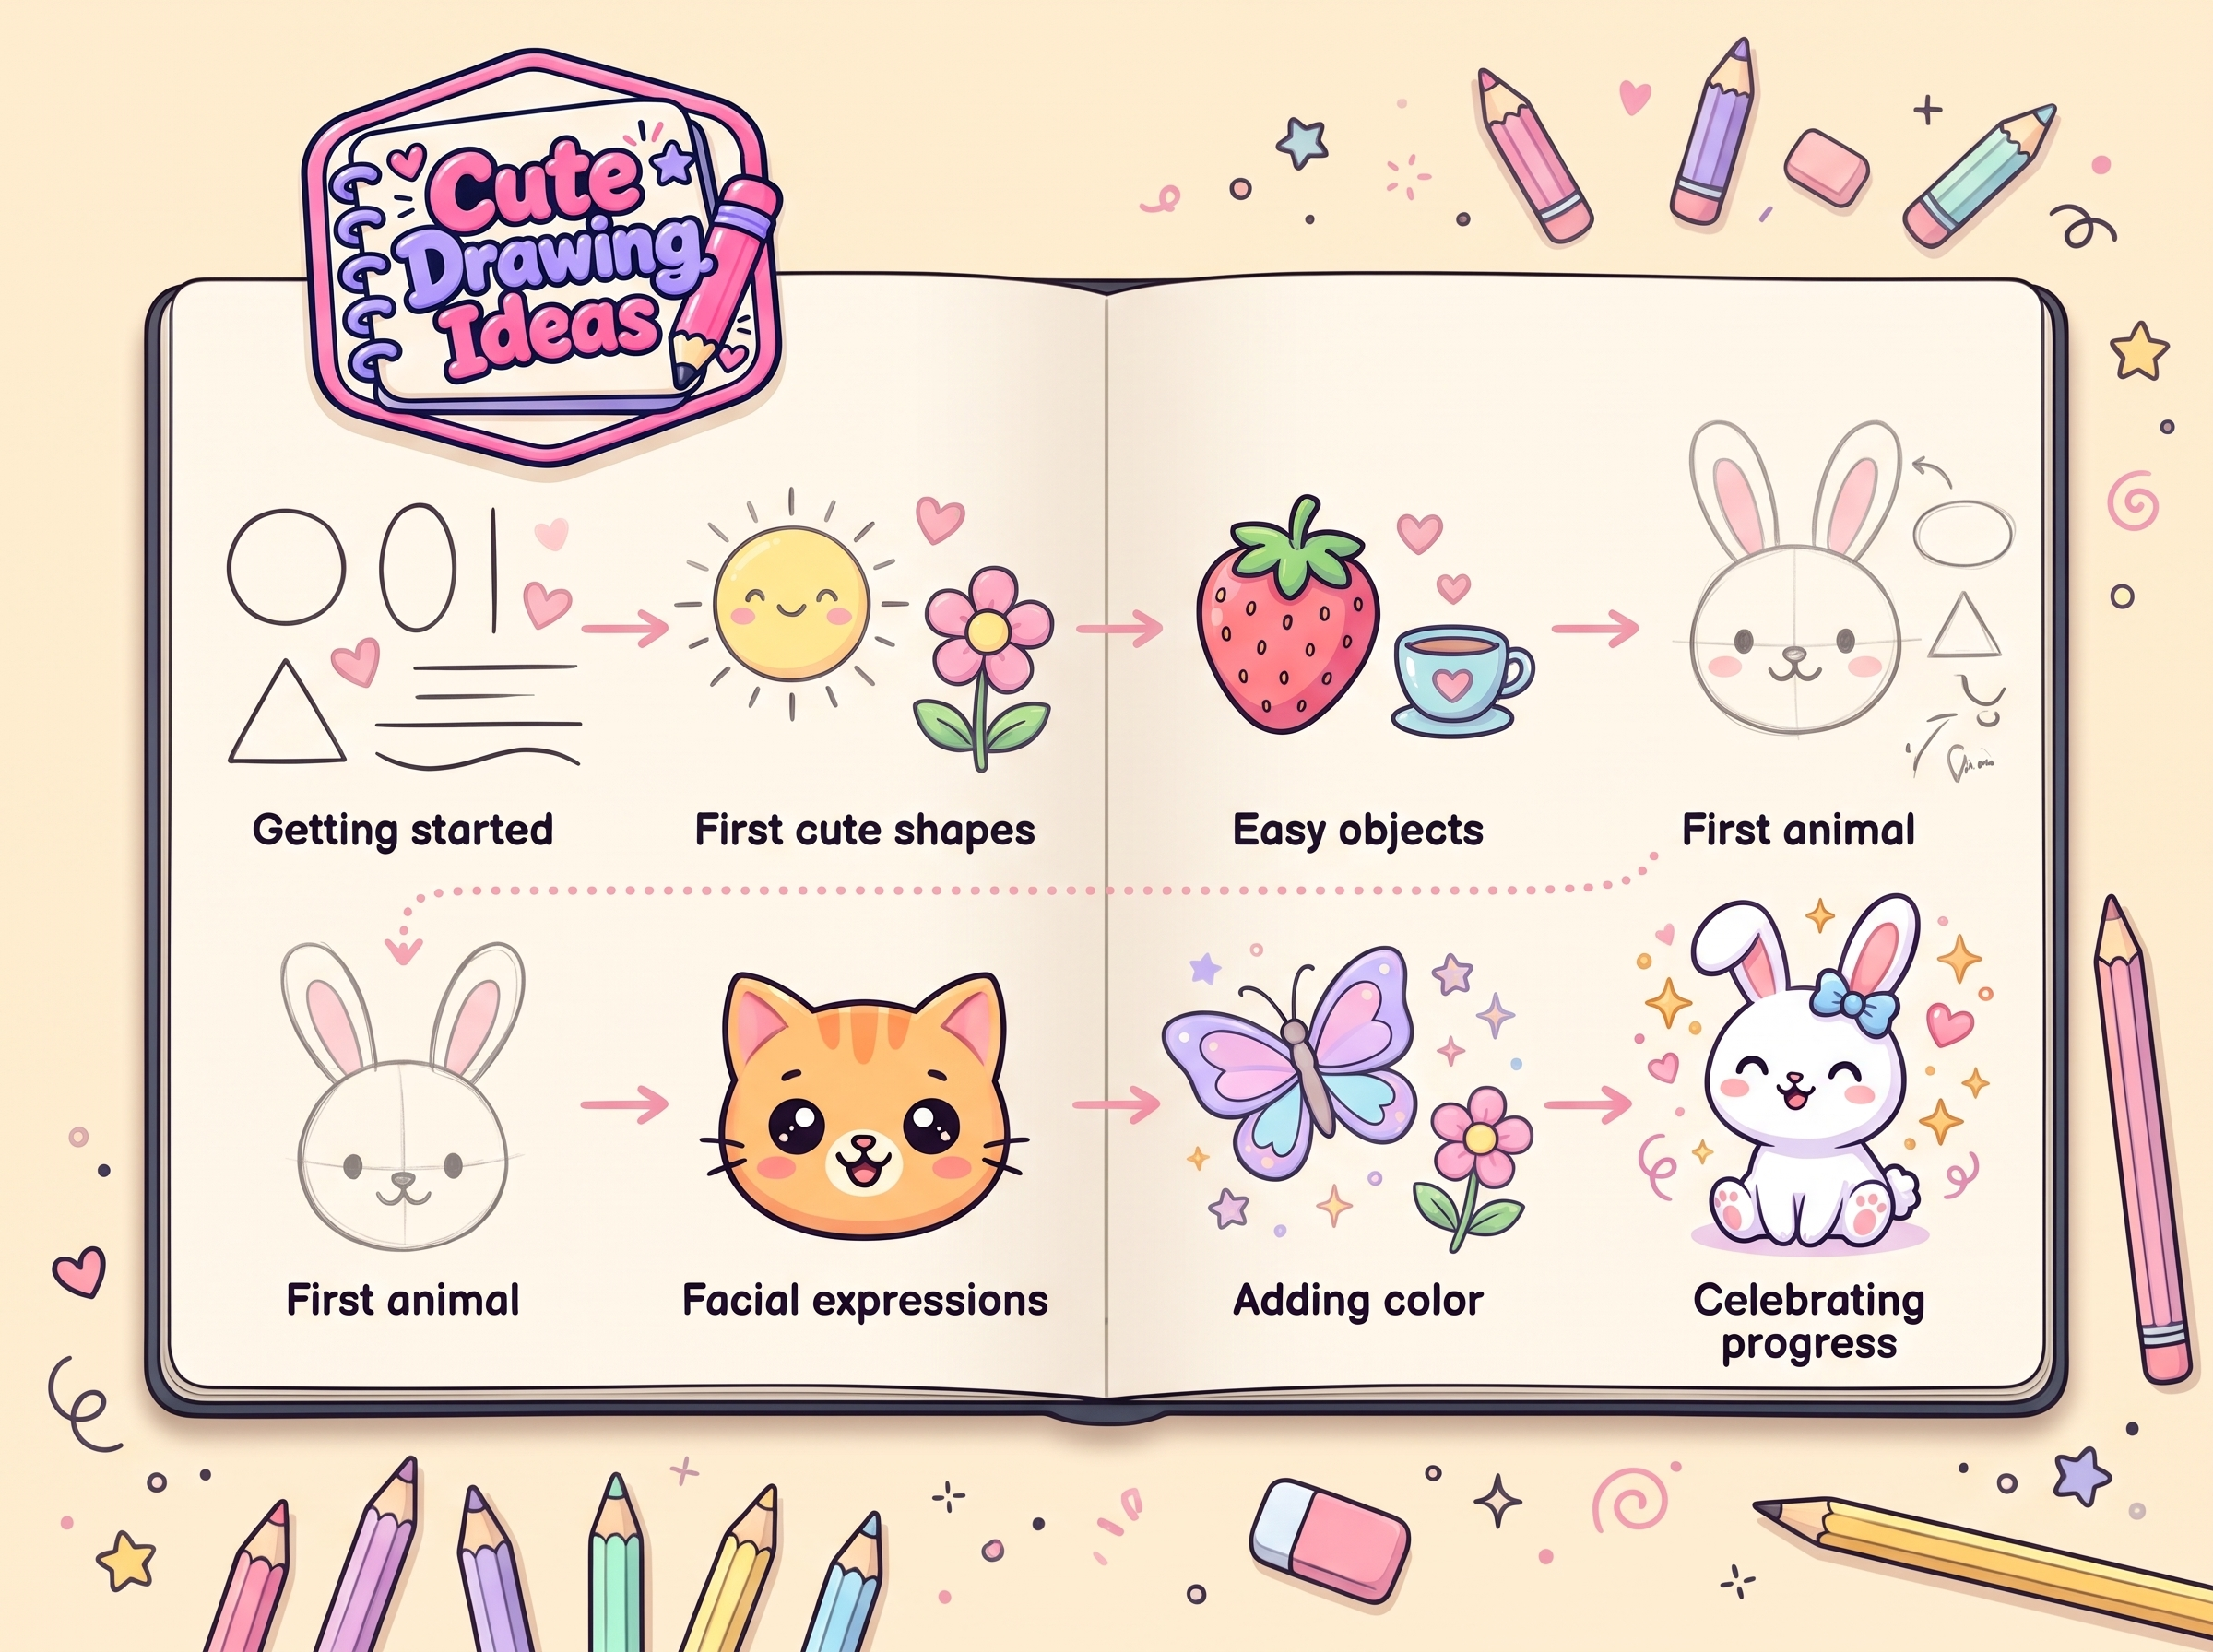
Clear, simple instructions that go one stage at a time.
Friendly subjects chosen to be fun, not intimidating.
Beginner categories that cover food, bugs, objects, nature, pets, reptiles, and sea animals.
A clear path from beginner to intermediate to advanced.
A relaxed pace, with no timer and nothing to prove.
Frequently Asked Questions
Do I need any drawing experience?
No. Beginner tutorials start with basic shapes like circles, ovals, and triangles. If you can draw those, you can begin.
What supplies do I need?
A pencil, an eraser, and paper are enough. Colored pencils, crayons, or markers are optional for the coloring stage.
Which tutorial should I try first?
Pick a subject with only a few parts, such as a fruit, a ladybug, or a round-faced pet. Choose whichever one you like best.
How long does a beginner drawing take?
It depends on the subject and how much detail you add. Since tutorials are split into stages, you can stop after any stage and continue later.
Why do tutorials begin with light guide shapes?
Guide shapes show you the size and position of each part before you commit to an outline. Light lines are easy to erase, so a wrong curve costs you nothing.
What if my drawing doesn’t look like the example?
That is normal. Every hand-drawn picture is a little different, and many people like their own version better. Try the same drawing again and change one detail.
Are these tutorials suitable for children?
Yes. Younger children can draw with a parent or teacher helping, and older children can usually follow on their own.
Can I follow the steps on a tablet?
Yes. The method is about shapes and the order you draw them in, so it works on paper or in a drawing app.
How can I make my drawings look cuter?
Use a big head, a small body, soft rounded lines, and a small face with features placed low. Add a blush on the cheeks and soft pastel colors